If you are getting into natural light portrait photography, this article is for you. Some photographers may think that it all depends on the number of megapixels their camera has or the type of lens they are using – but I’m here to disappoint you.
Many factors contribute to great photography, but none is more important than light. Light is the picture’s essential element—it’s precisely the only reason an image can exist.
If you are just starting out in portrait photography or looking for ways to improve your skills, there are certain things you need to address first.
Before diving into the principals of photography, you first need to acquire a better understanding of light. Seeing the light, knowing how it works, and being able to capture it, will give endless possibilities for creative portraits.
In this article, I share the benefits of photographing with natural light outdoors. We will discuss elements of natural light, as well as tips for creating more striking portraits outdoors.
This post may include affiliate links. Please read our disclosure policy. [006]
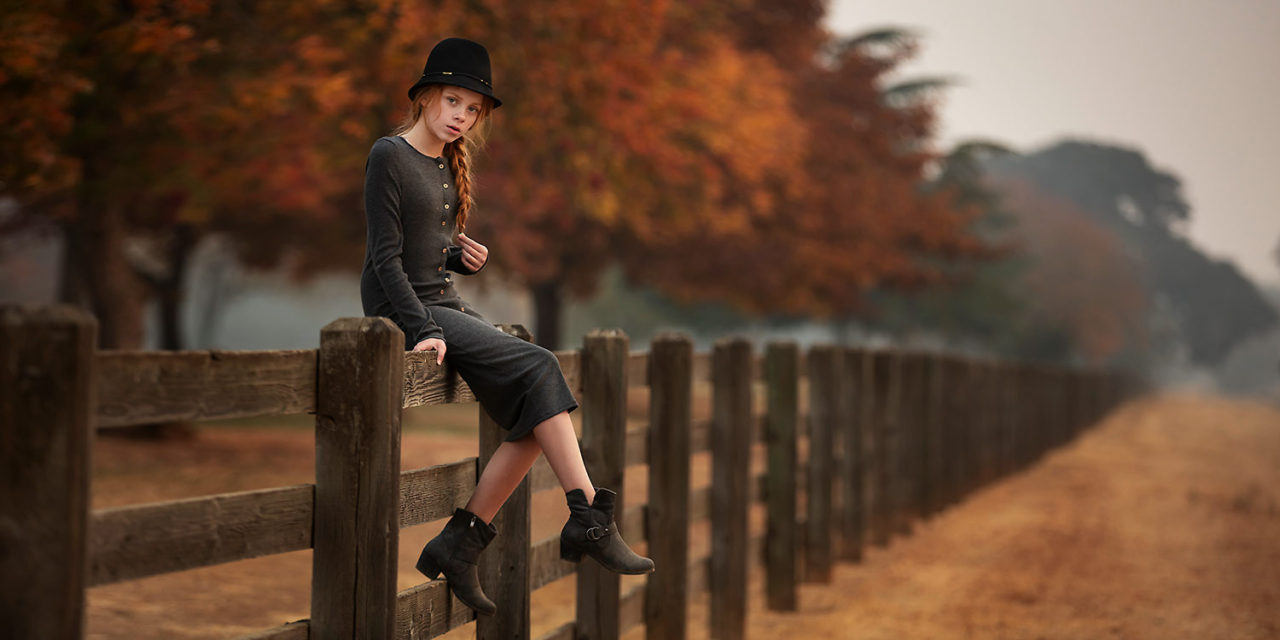
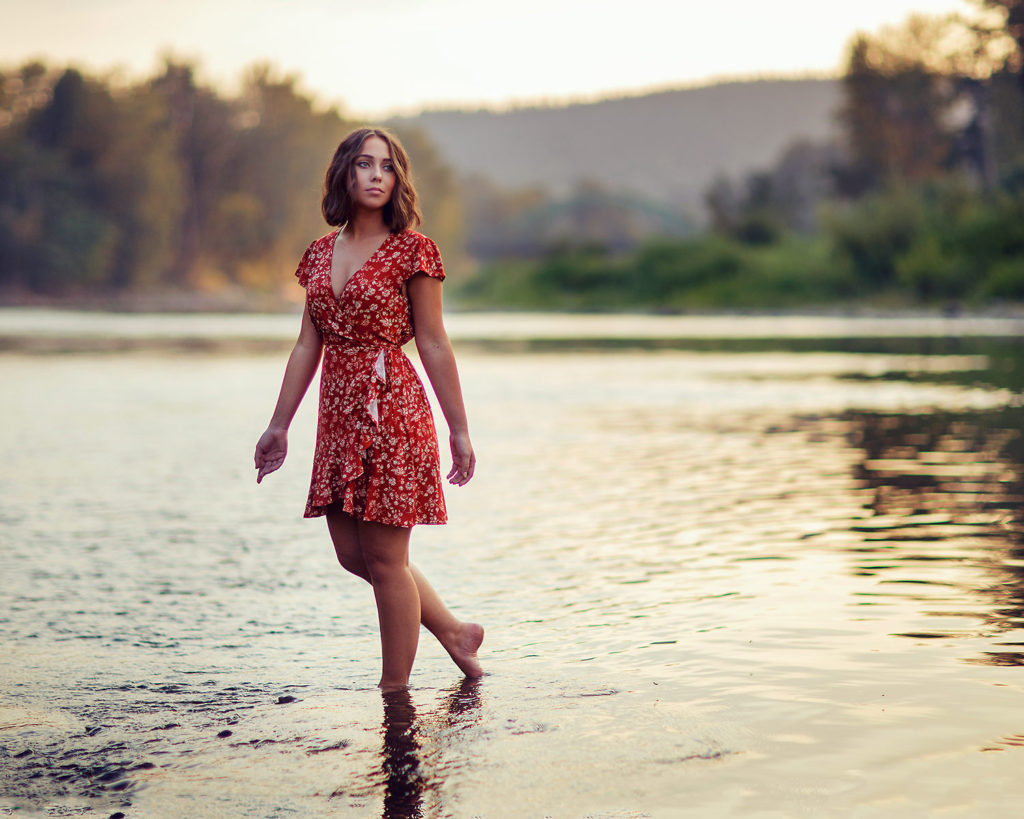
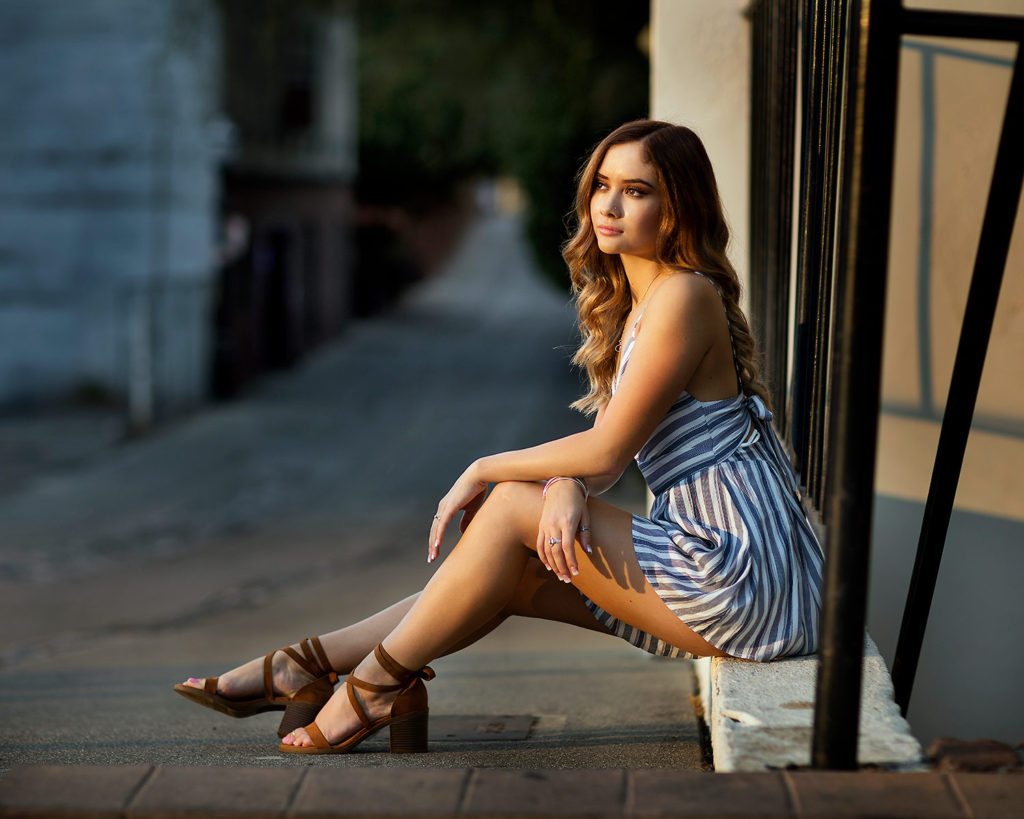
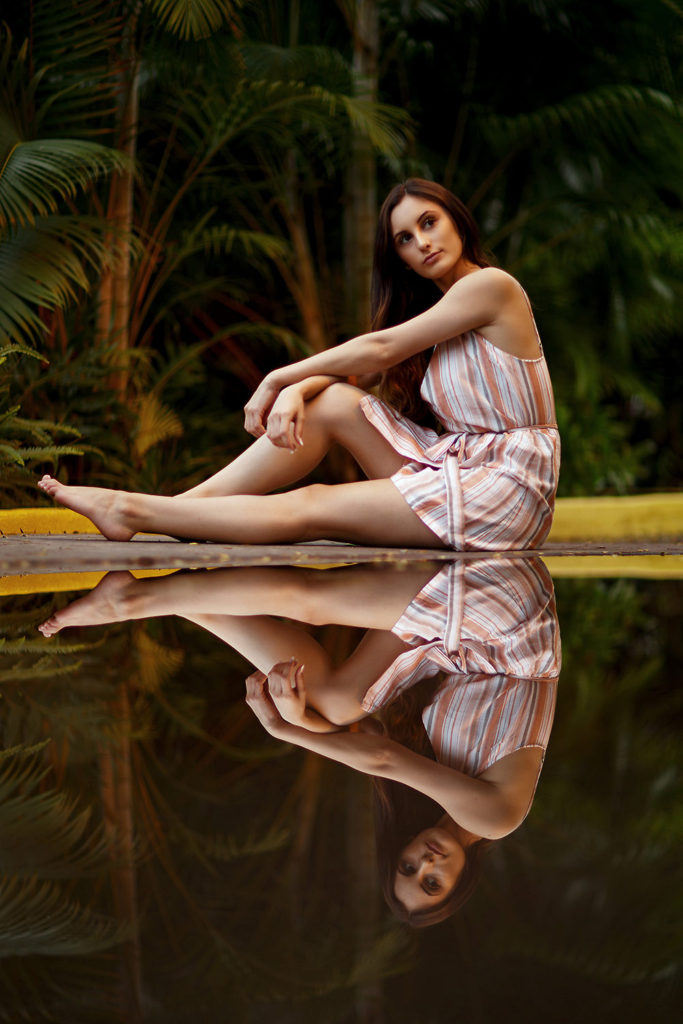
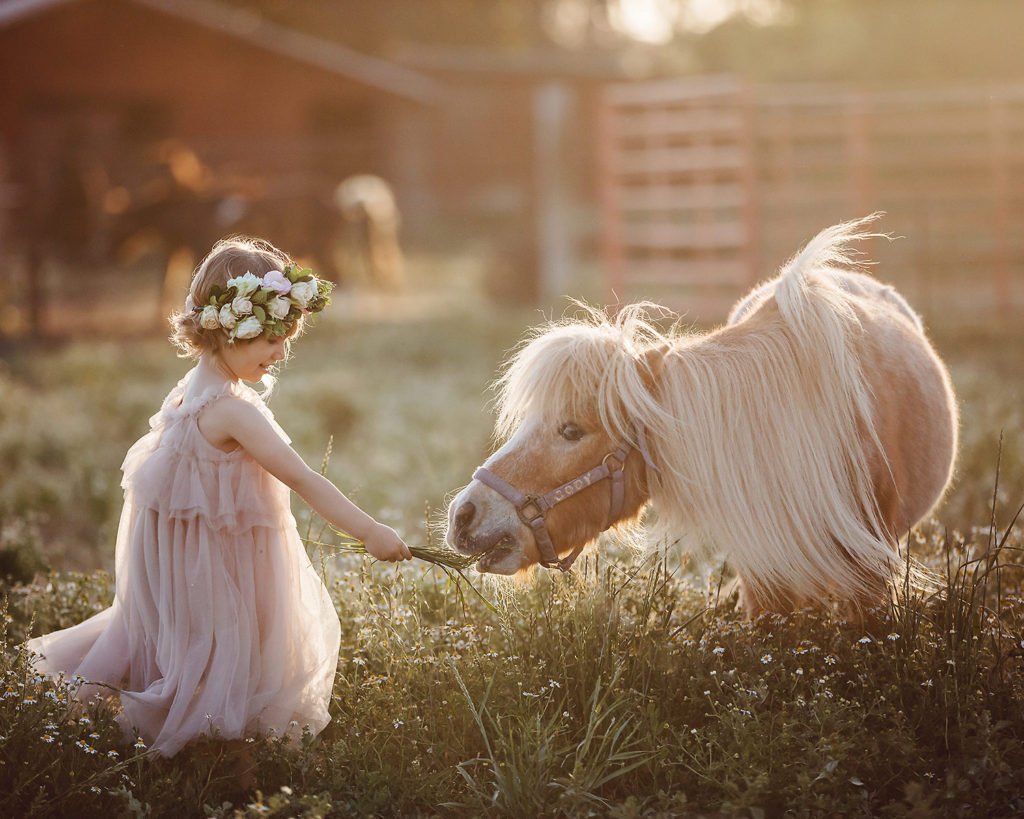
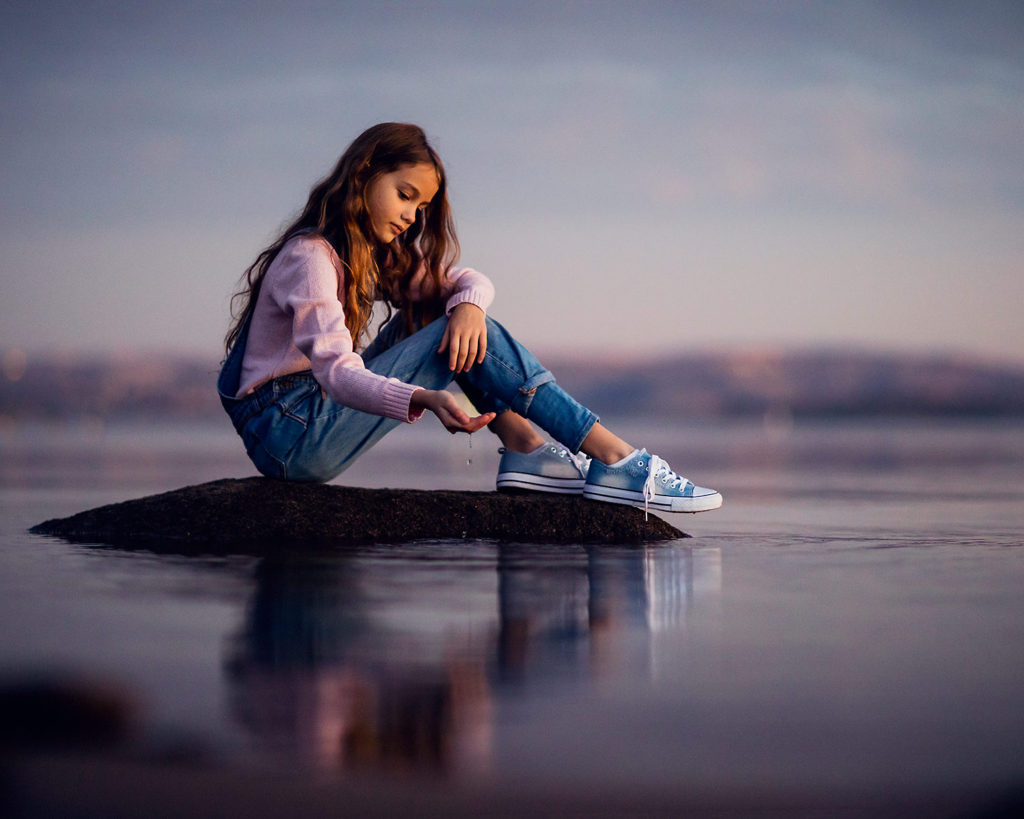
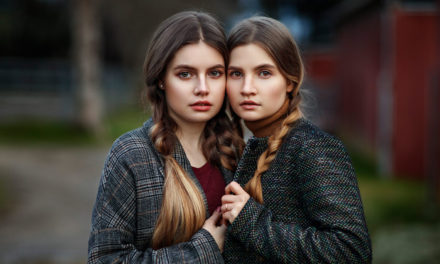
Camera: Canon EOS 5DS R | Lens: Canon EF17-40mm F/4L USM
Natural Light | f/4.0, 1/60s, ISO 50 | Photo by © Sergey Bidun
WHAT IS LIGHT IN PHOTOGRAPHY?
Photography is an art form where quality light is the most essential factor. Without light, there would be no photographs.
The light source of your photographs directly affects their mood and character. Whether it’s natural sunlight, window light, or an artificial light source – you need some type of lighting to produce an image.
In natural light photography, you must be able to see the light, evaluate it, and utilize it in producing a stunning portrait.
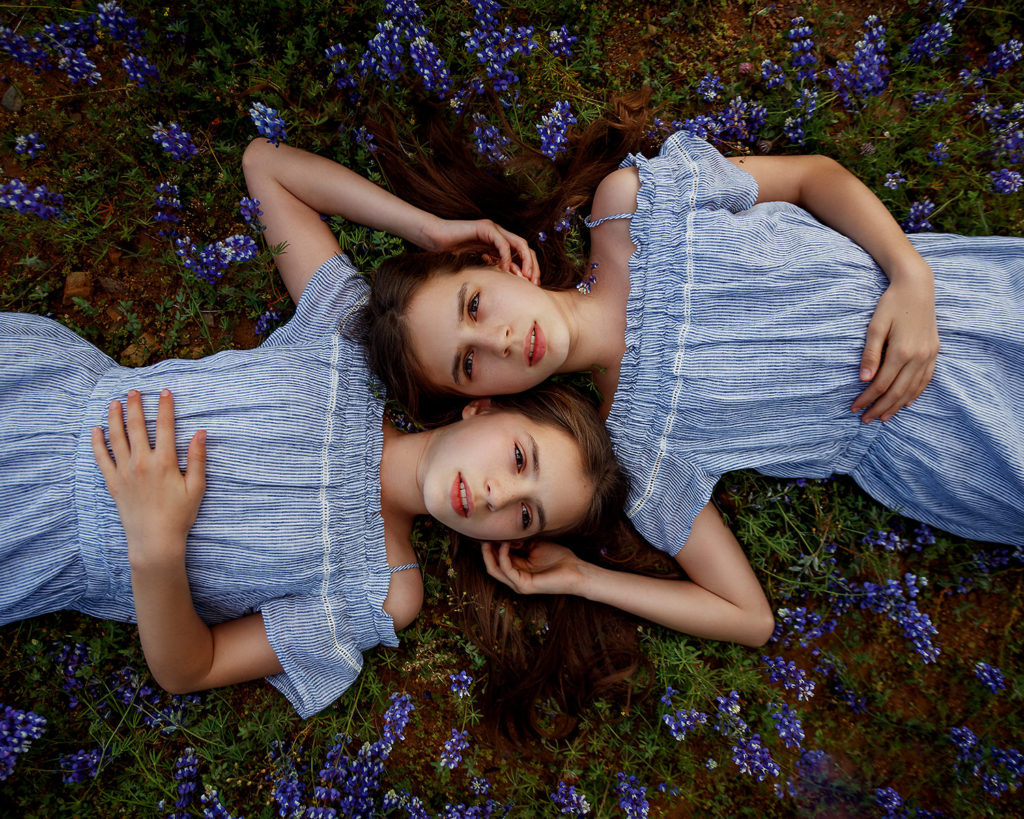
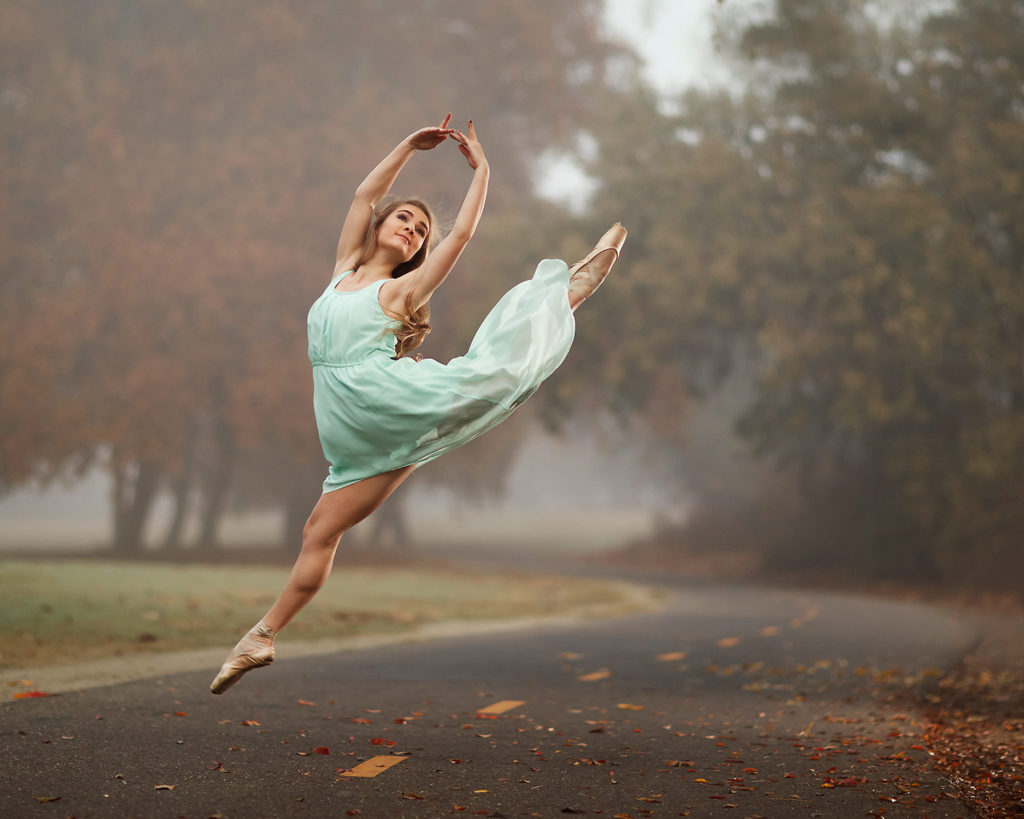
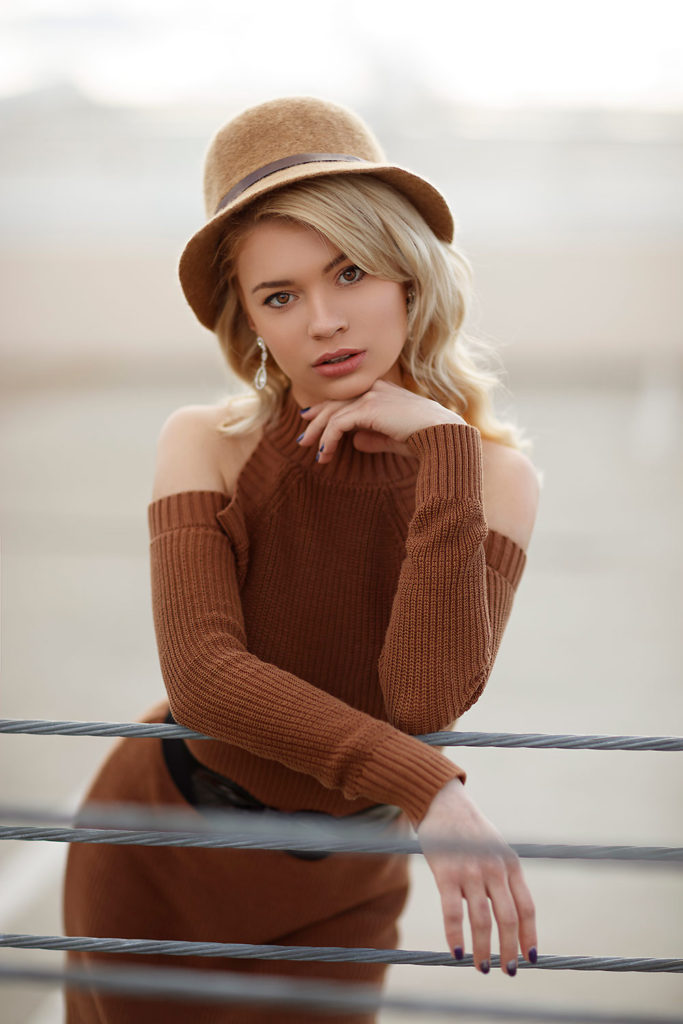
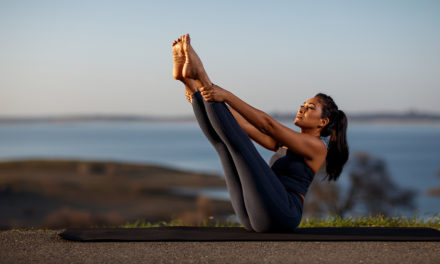
Camera: Canon EOS 5DS R | Lens: Canon EF 85mm f1.2L II USM
Direct Sun Light | f/2.8, 1/3200s, ISO 400 | Photo by © Sergey Bidun
PHOTO GEAR USED TO CREATE THESE IMAGES
For the images listed throughout this post, different photography gear and lighting equipment were used.
- Camera: CANON EOS 5DS R | Canon 5D Mark III
- Lenses: Canon EF 85mm f1.2L II USM | Canon EF17-40mm F/4L USM | Canon EF 50mm f/1.2 L USM | Canon EF70-200mm f/2.8L IS II USM | Canon EF 35mm f/1.4L II USM
- Lighting: Profoto B1 500 AirTTL Location Kit
- Retouching tablet: Wacom Intuos Pro Medium Drawing Tablet
- Software: Adobe Photoshop and Lightroom
- Computer: Apple iMac, 27-inch Retina 5k display
SEEING THE LIGHT
As a photographer, it’s critical that you are capable of seeing the light.
To see how the light works and how it moves requires some observation and lots of practice. I’ve spent countless months learning and mastering the light and the way I see the light. In fact, I still learn something new about light whenever I photograph outdoors. Interestingly, the light has a tendency to turn out not as predicted.
If you are passionate about photography and want to take your skills to the next level, then dedicate a sufficient amount of time for observing the light. You will learn how natural light exists and what factors influence it, to create better portrait photographs.
One of the ways that helped me to understand light better was by observing paintings and photographs of famous artists. Work of Rembrandt van Rijn, a famous Dutch painter of 1600s, introduced a specific type of lighting technique – the Rembrandt lighting.
Photographing portraits in Rembrandt, Butterfly, or Split lighting is more common for studio portraiture. Nonetheless, it’s worth shooting with those techniques for creating dimension in portraits.
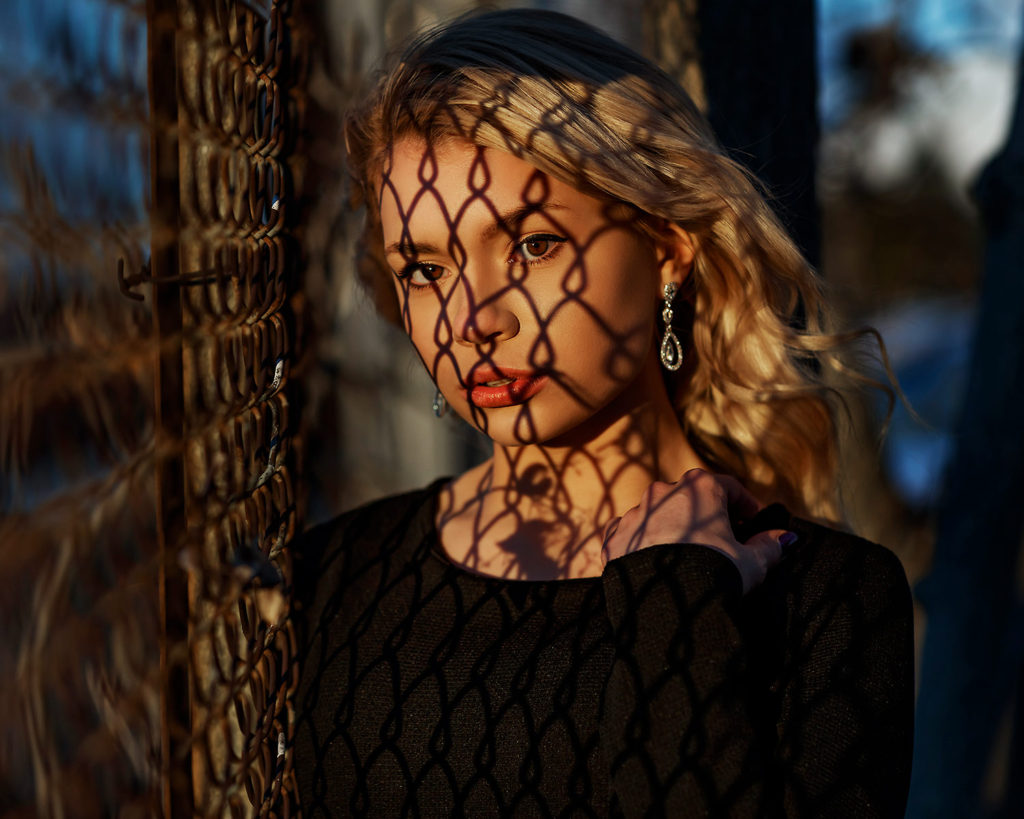
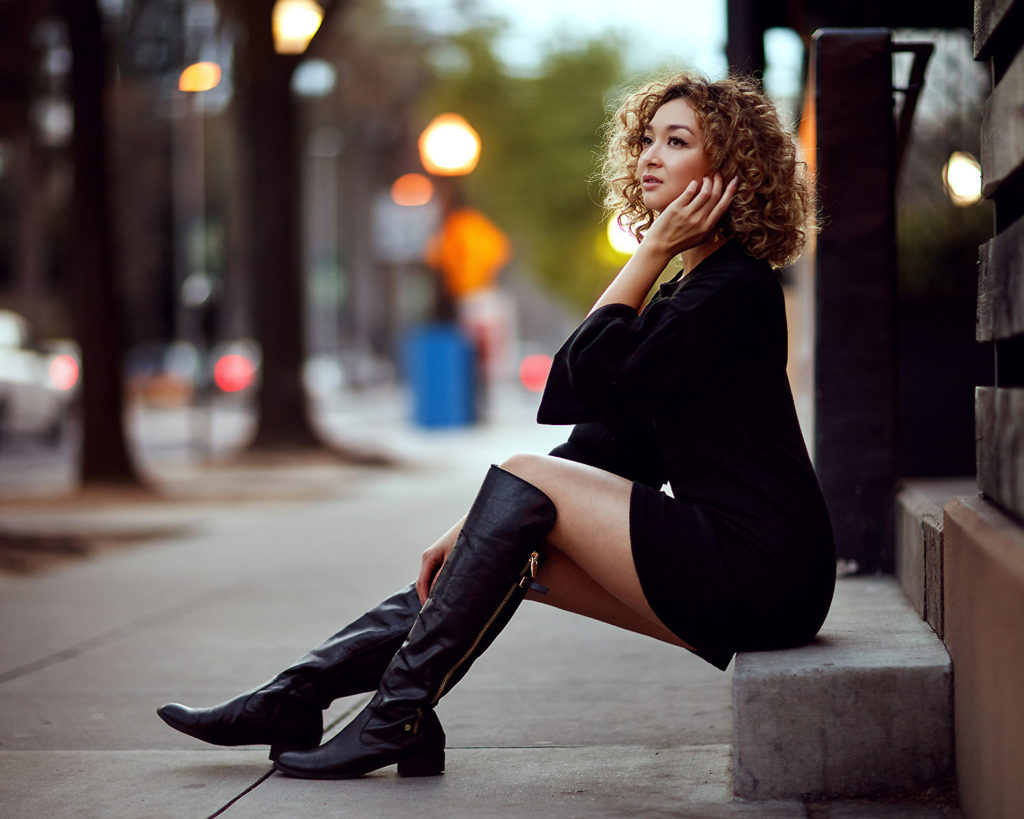
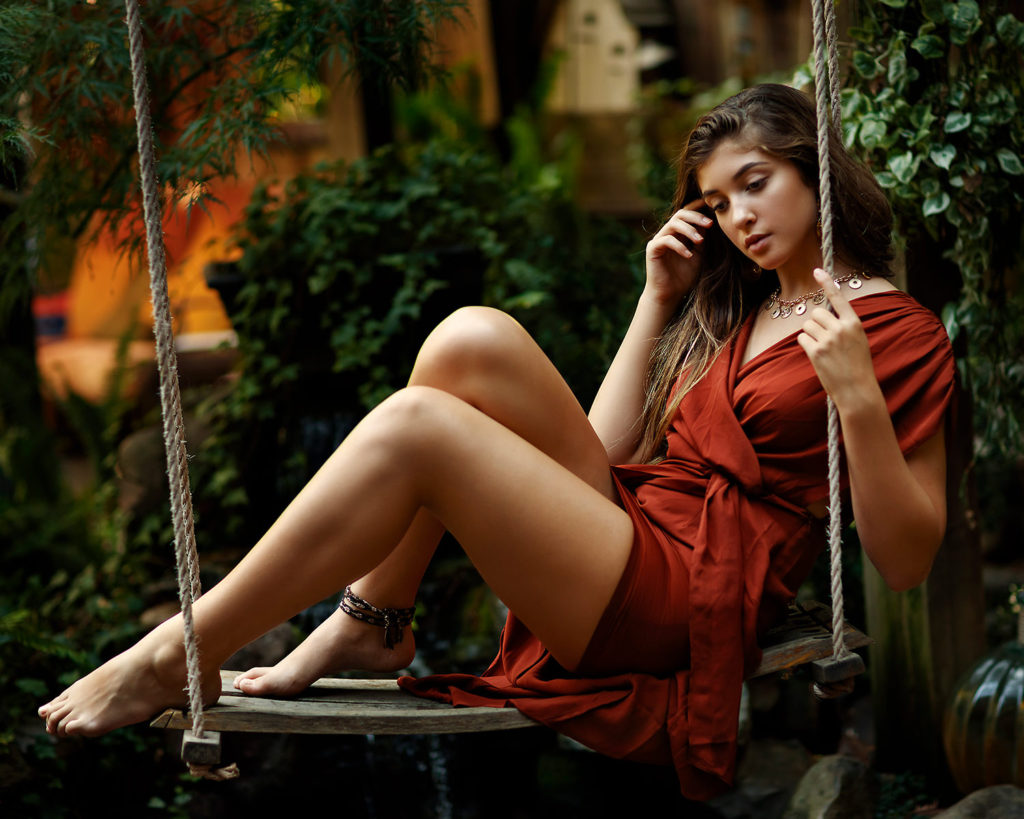
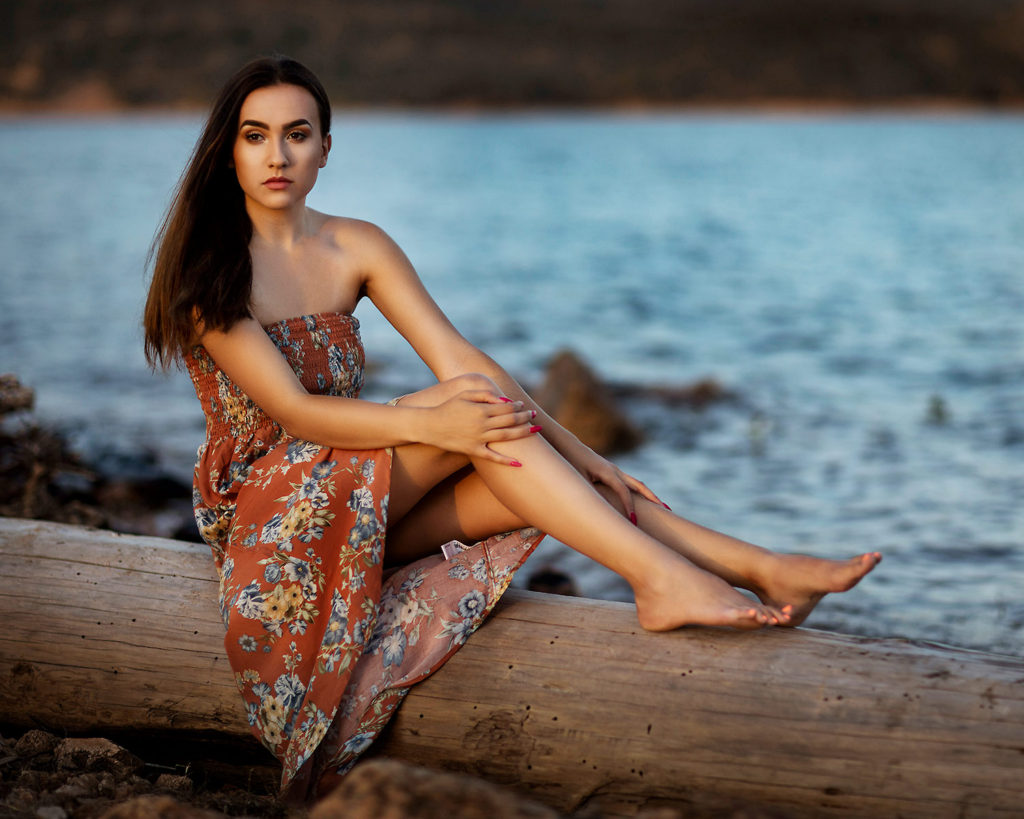
Camera: Canon EOS 5DS R | Lens: Canon EF 85mm f1.2L II USM
Direct Sun Light | f/1.6, 1/125s, ISO 500 | Photo by © Sergey Bidun
WHAT IS NATURAL LIGHT?
In photography, we refer to natural light as any light created by the sun. Sunlight is the most basic and essential form of light which is readily available to anyone who is taking the picture.
Keep in mind that the available light from the sun differs based on the time of day. There are specific time periods during the day that are best for outdoor portrait photography.
Most photographers prefer to shoot during the “golden hour” – the time shortly after sunrise and shortly before sunset, which produces warm golden light.
Personally, I try to stick to sunset portrait sessions since I’m not a morning person.

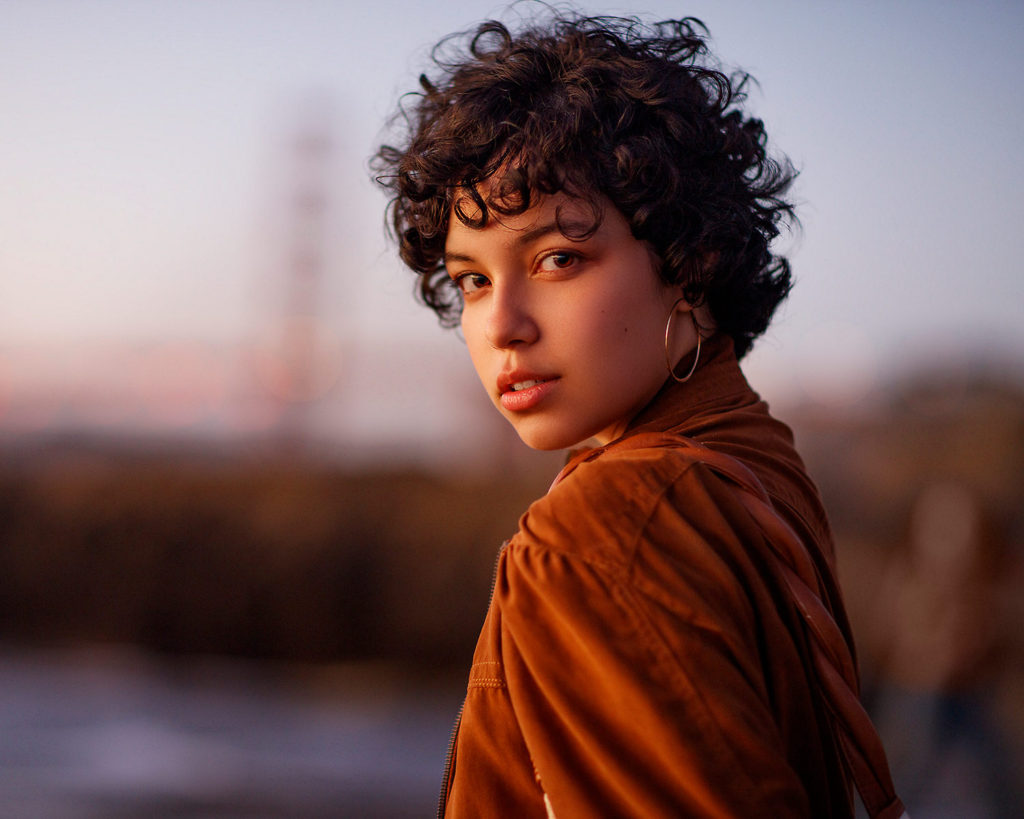
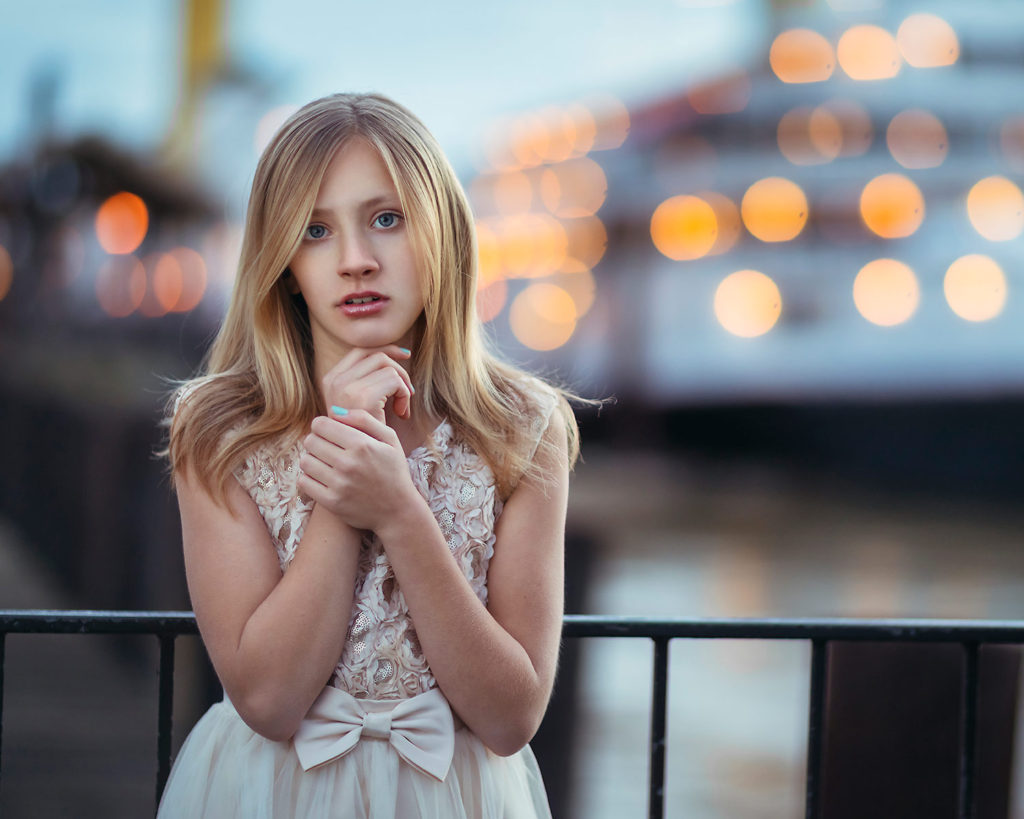
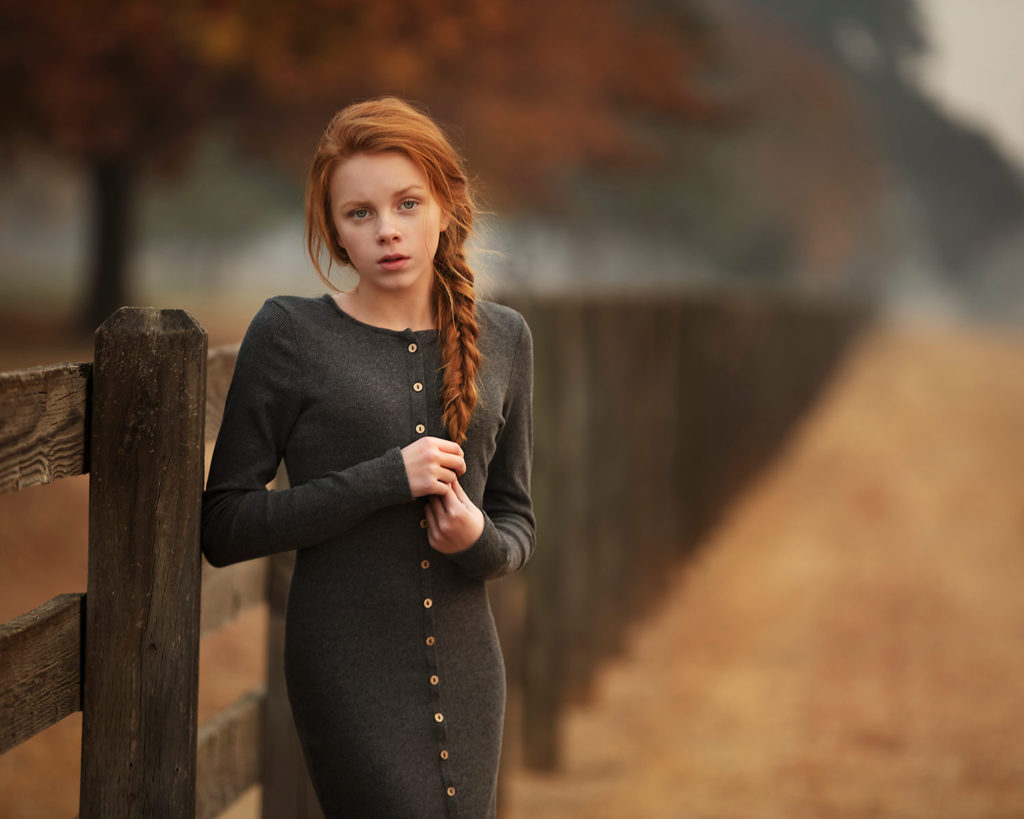
Camera: Canon EOS 5DS R | Lens: Canon EF 85mm f1.2L II USM
Back Sun Light | f/1.4, 1/1600s, ISO 125 | Photo by © Sergey Bidun
Depending on the location of the shoot, you might want to plan for an early sunrise shoot in order to skip the tourists and have more freedom for creativity during the session.
A sunny day will produce very different lighting from an overcast day, although both have their own advantages. In California, we have plenty of sunlight, which makes it easy to practice anywhere and anytime.
If you pay attention to the way the sun moves and acts throughout the day and under different weather conditions, you will learn a lot about the light.
By observing, you will learn to see the light better and apply these fundamental techniques in any genre of photography.
Camera: Canon 5D Mark III | Lens: Canon EF 85mm f1.2L II USM
Direct Sun Light | f/1.4, 1/1600s, ISO 200 | Photo by © Sergey Bidun
ADVANTAGES OF PHOTOGRAPHING WITH NATURAL LIGHT
Photographing with natural light offers quite a few benefits for both professional and novice photographers:
• NATURAL LIGHT IS FREE
Natural light is a consistent part of the environment. Whether it’s a bright summer day or a cloudy winter afternoon, we have some form of natural light available for us. Natural light is beautiful on its own and is completely free of charge.
There’s no expensive equipment or artificial light sources you have to set up to do an outdoor portrait photoshoot.
You may use a reflector, diffuser, or a strobe light if you prefer, but it is not necessary. Like in the image below, I used a strobe light from the backside to create contouring.
Camera: Canon EOS 5DS R | Lens: Canon EF 85mm f1.2L II USM
Natural light from left side + Profoto B1 500 AirTTL Strobe light.
f/1.4, 1/2500s, ISO 640 | Photo by © Sergey Bidun
• NATURAL LIGHT IS CONSTANT
One of the most significant benefits of natural light is that it’s a constant light. You don’t need to spend time adjusting it, as you would do with strobe lights in a studio setting.
In natural light photography, you just need to find a location with the best lighting and start shooting. Keep in mind that the sun is slowly setting throughout the day, and you must plan around that.
Schedule your portrait sessions shortly before sunset time for the most beautiful warm light in your images.
Camera: Canon EOS 5DS R | Lens: Canon EF 85mm f1.2L II USM
Sky Natural Light | f/1.2, 1/250s, ISO 640 | Photo by © Sergey Bidun
• NATURAL LIGHT OFFERS VARIETY
You will see a considerable variation in natural light portraits taken at different times of the day and with varying weather conditions.
An image taken during the golden hour will look remarkably different from one made in the middle of a bright sunny day. Which, in turn, will look different from a photo on a cloudy fall afternoon.
The beauty of natural light photography is that your images will come out unique and different each time. Clients will notice and appreciate that.

Camera: Canon EOS 5DS R | Lens: Canon EF70-200mm f/2.8L IS II USM
Back Sun Light | f/1.4, 1/1600s, ISO 125 | Photo by © Sergey Bidun
THE ELEMENTS OF NATURAL LIGHT
There are four main elements of natural light that have helped me in becoming a better photographer. They are color temperature, light intensity/quantity, the direction of the light, and the quality of light.
• COLOR TEMPERATURE
Color temperature refers to different shades of color that the sun gives us throughout the day. Color varies from cold/blue tones to warm/red. Depending on what time of day it is, the sun will provide you with various shades of color temperature.
At sunset, the sky will look warm golden-orange, at dawn and dusk, it will appear colder/blue. In shaded areas, the tones will be more cold, unlike in the direct sunlight.
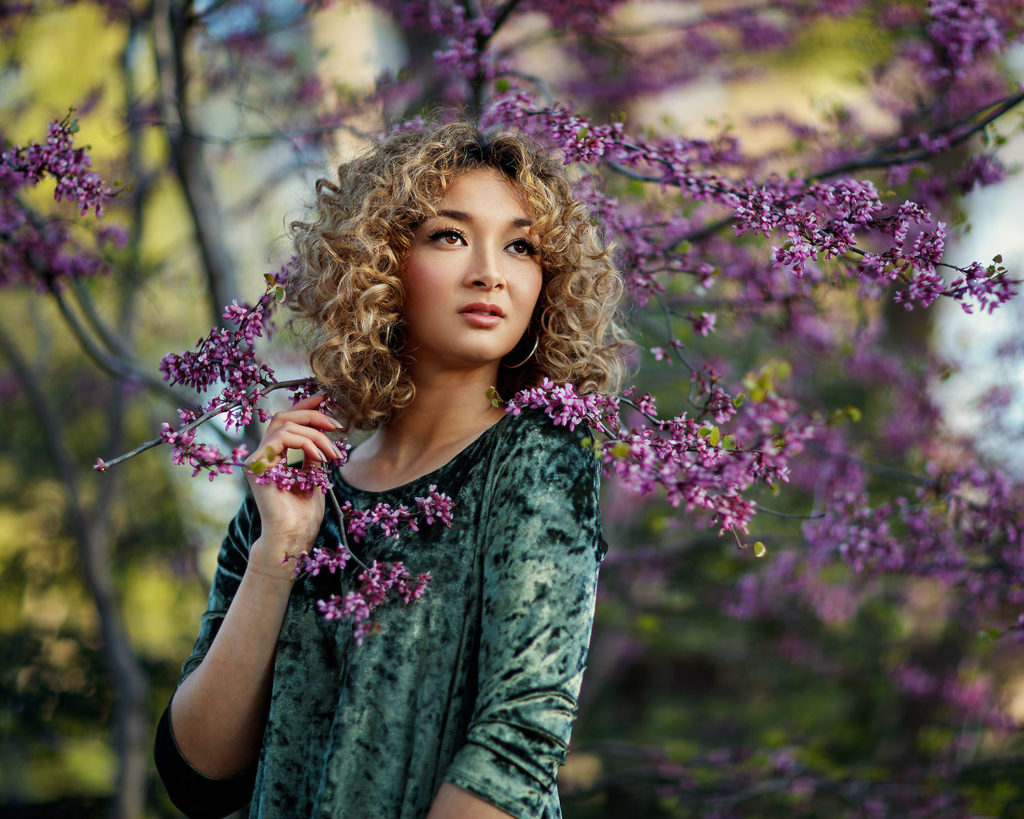
Camera: Canon EOS 5DS R | Lens: Canon EF 85mm f1.2L II USM
Sky Natural Light | f/1.4, 1/320s, ISO 640 | Photo by © Sergey Bidun
• INTENSITY/QUANTITY OF LIGHT
Intensity/Quantity of light is the amount of natural sunlight that falls on your subject and how bright or harsh the light is.
Mid-day is the time when the sunlight is most intense and creates heavy shadows and bright highlights.
However, at sunset and sunrise golden-hour time, the brightness and contrast are less intense, softer, and more pleasing for the eye.
Camera: Canon EOS 5DS R | Lens: Canon EF 85mm f1.2L II USM
Direct Sun Light | f/2.0, 1/1250s, ISO 125 | Photo by © Sergey Bidun
• THE DIRECTION OF LIGHT
The direction of light changes depending on the time of day as the sun moves toward the horizon.
By observing the light and it’s direction at different times of the day, such as morning, midday, and sunset time – you will start getting ideas on how to correctly position subjects in your portraits.
Photographing at different times of day will let you create images very different from one another.
Camera: Canon EOS 5DS R | Lens: Canon EF 85mm f1.2L II USM
Back Sun Light | f/2.2, 1/1000s, ISO 50 | Photo by © Sergey Bidun
• QUALITY OF LIGHT
The quality of light is measured by the size of the light source compared to the subject. Depending on the size of the light source and how close it is to your subject, you will get either hard light or soft light.
Hard lighting is created by small light sources such as the sun, in our case of outdoor natural light photography.
You will get soft and diffused light on an overcast or cloudy day. This is the case when the sky is diffusing the sunlight and creating soft shadows in portraits.
Good quality light will add a pleasing dimension to your outdoor portrait, like in the image below.
Camera: Canon EOS 5DS R | Lens: Canon EF 85mm f1.2L II USM
Back Sky Light | f/2.0, 1/400s, ISO 400 | Photo by © Sergey Bidun
BAD QUALITY LIGHT
There are also instances of “bad quality light,” which you should learn to work with and stay away from. Some of the examples of bad quality light include photographing when you get a mix of different light sources.
It’s when you get spotty harsh sunlight on your subject, or when your model stands at a location where the light reflects on her from the surrounding buildings, ground or objects. All of these things and more can negatively affect your portrait.
My suggestion to you is: be observant of your surroundings at all times. Continuously make adjustments or change angles if the image is not to your liking.
When searching for good quality of light, you must first set your goals on the kind of images you want to create. Then you will determine which type of light you want to work with.

Camera: Canon 5D Mark III | Lens: Canon EF 85mm f1.2L II USM
Sky Natural Light | f/2.5, 1/1250s, ISO 400 | Photo by © Sergey Bidun
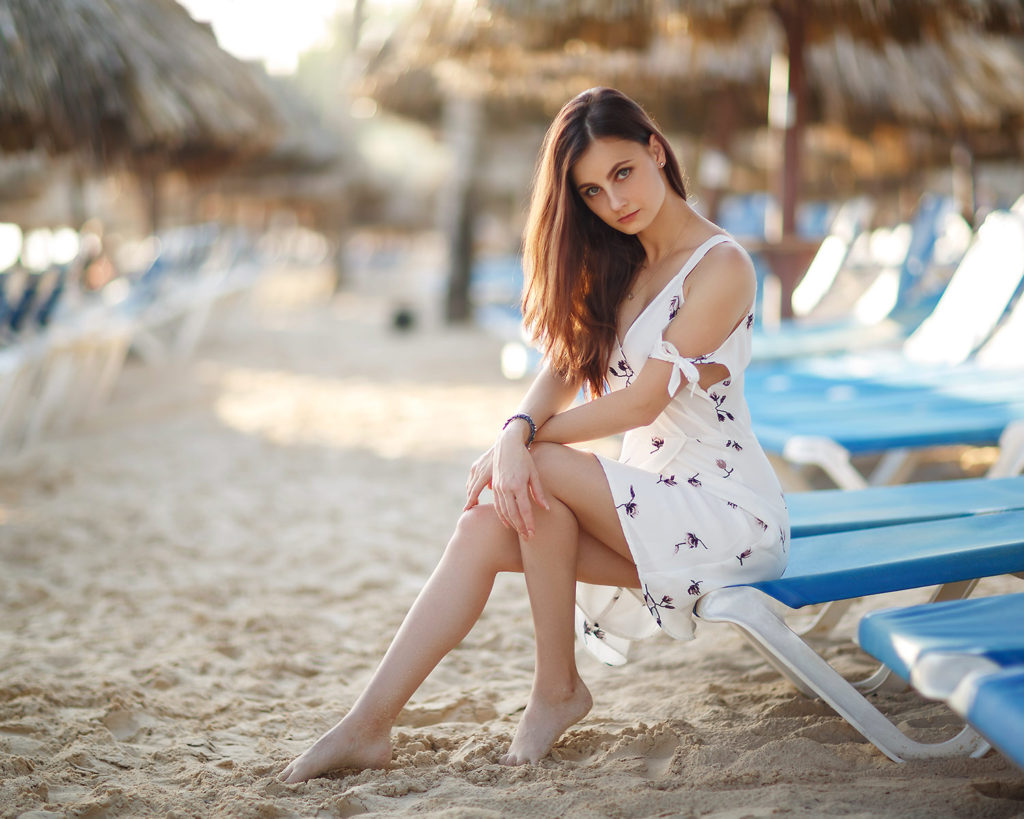
BEST TIME FOR NATURAL LIGHT PHOTOGRAPHY
When exactly is the best light for outdoor portrait photography?
The best light appears during the golden hour, which is an hour after sunrise, and about an hour before sunset. Many photographers prefer to shoot during the golden hour, as it provides the best lighting for outdoors.
As the sun is low on the horizon, it creates long soft shadows and warm golden light in your portraits.
If photographing in midday, for example, the sun is high in the sky, and the direct light will create harsh contrasting shadows. This type of lighting condition is not suitable for family or children photo sessions but could be ideal for a fashion portrait shoot.
Hard light is categorized by sharp shadows and intense contrast in colors, with sometimes overblown highlights or whites. When you photograph people in hard light, they will often squint and have strong unflattering shadows on their faces.
This is why most photographers try to work with natural light during the golden hour.
Camera: Canon EOS 5DS R | Lens: Canon EF 85mm f1.2L II USM
Front Sky Light | f/1.2, 1/250s, ISO 50 | Photo by © Sergey Bidun
HOW TO POSE YOUR SUBJECT DURING NATURAL LIGHT SHOOT
Now that we’ve discussed the best time for outdoor portrait photography, the next question arises. How do I pose my subject for most flattering portraits? I have explained the topic of posing and strategies that work best for me in Posing tips for women portrait photography article.
• OBSERVE THE LIGHT
Chances are that your clients won’t know how to pose correctly or how to position their hands, etc. That’s why you have to be knowledgable of at least basing posing tips.
With the right combination of flattering poses and beautiful outdoor natural light, you will produce gorgeous portraits each time.
When photographing at golden hour, you will be sure to get beautiful warm natural light, unless it turns out to be an overcast day.
As you get to the photoshoot location, be observant as to how the light falls and what some great spots for portraits might be.
Camera: Canon 5D Mark III | Lens: Canon EF 85mm f1.2L II USM
Sky Natural Light | f/1.2, 1/250s, ISO 50 | Photo by © Sergey Bidun
• SEARCH FOR TUNNEL LOOK
When I photograph out in nature, I keep my eyes open for tunnel looking areas. They can include trails, paths, bridges – anything that has greenery on both sides, creating a tunnel-look.
Locations such as the one shown below, help bring the viewer’s focus to the subject of the photograph.
The way I would position the subject is by putting them at the beginning of the trail with the scenery behind them to create a beautiful picture. Tunnels like this add richness to the images.
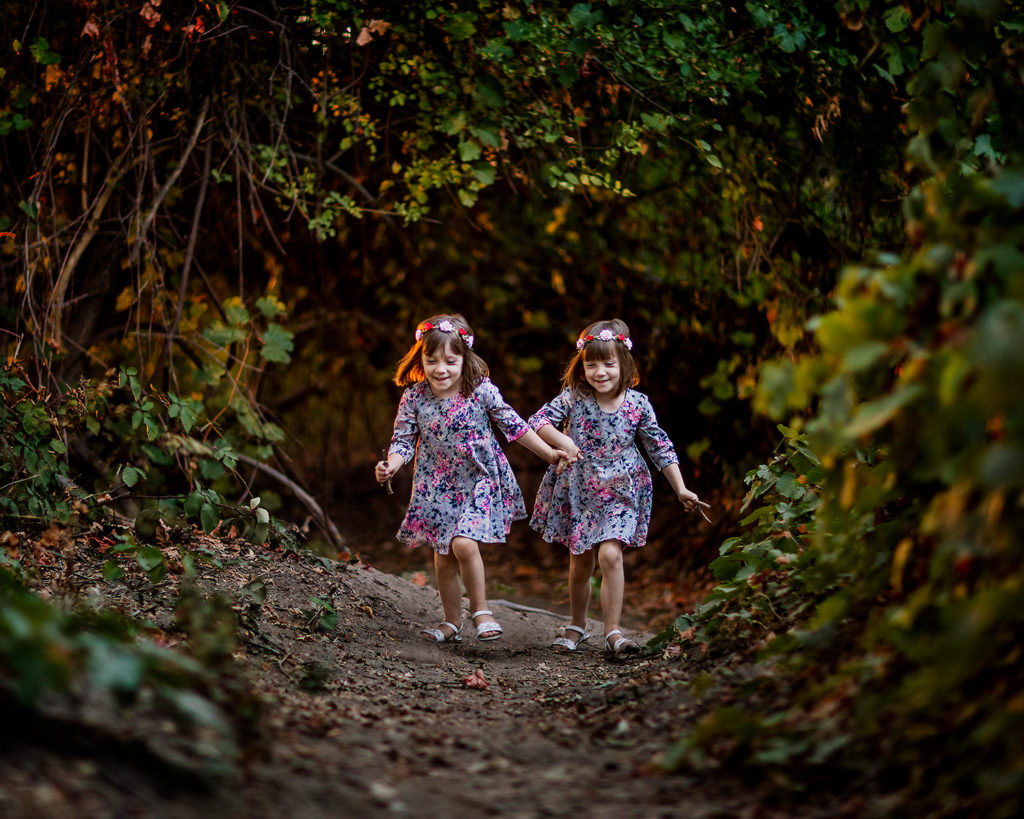
Camera: Canon EOS 5DS R | Lens: Canon EF 85mm f1.2L II USM
Back Sun-Light | f/1.2, 1/200s, ISO 500 | Photo by © Sergey Bidun
• LOOK FOR LEADING LINES
After taking some simple portraits for warm-up, start suggesting different poses to your subject, for more creative images.
The leading lines that this setting creates is what I love the most in outdoor portraits.
I always look out for locations with leading lines, as this really draws the attention to the subject you are photographing.
Leading lines can be in different forms, including walls, buildings, trees, pathways, etc.

Camera: Canon EOS 5DS R | Lens: Canon EF70-200mm f/2.8L IS II USM
Direct Sun Side-Light | f/2.8, 1/320s, ISO 200 | Photo by © Sergey Bidun
DIRECTIONAL LIGHTING
The direction at which the light highlights your subject will produce very different and compelling results. It will take time to figure out how to create a balance between the direction of light and the position of your subject.
Once you grasp this, your portraits will be on a much higher level.
As a photographer, you must be observant not only to the location and light direction. Be observant of your subject and how different light angles may be suitable or not suitable for them.
Be creative by finding the best angle for the light to hit your subject.
Camera: Canon 5D Mark III | Lens: Canon EF 85mm f1.2L II USM
Sky Natural Light | f/1.2, 1/640s, ISO 50 | Photo by © Sergey Bidun
• FRONT LIGHTING
FRONT-LIGHT golden-hour lighting is when the sun is behind the photographer and is directly hitting the subject.
Front light will give you a slightly flat look, and shadows will be more pleasant to the eye, as compared to midday directional sunlight.
This type of lighting is commonly used for photographing artistic portraits of high school seniors, couples, and fashion. When positioned correctly, the front light is excellent for highlighting cheeks and jawline of the subject.
Be ready to change your position until you locate the light where you want it for your picture.
Camera: Canon EOS 5DS R | Lens: Canon EF 35mm f/1.4L II USM
Direct Sun Front-Light | f/1.2, 1/200s, ISO 500 | Photo by © Sergey Bidun
• BACK LIGHTING
BACK-LIGHT is when the light is coming from behind the subject and can produce a beautiful glow around them or even a light flare.
This type of lighting is best for creating dreamy, fairytale-like images. Read more about backlit portrait photography here.
For creating most striking portraits, you must have a pleasing background behind your model – such as trees, tall grass, or a hill, and an open sky from the front.
When the sun is hitting the model’s back from behind the trees or a hill, it will create the most flattering soft and dreamy shadows and tones.
Camera: Canon EOS 5DS R | Lens: Canon EF70-200mm f/2.8L IS II USM
Back Sun Light | f/2.8, 1/5000s, ISO 1000 | Photo by © Sergey Bidun
When you use natural light as your primary light source, it can successfully bring out your subject’s most vibrant colors.
The golden light adds a glowing contour to your model, as the open sky creates softness to the face. This is my favorite lighting to use during outdoor photoshoots.
This type of directional lighting works great for everyone, including high school senior sessions, family and children photos, as well as portrait sessions.
Using this lighting method has many advantages, as you can creatively emphasize your subject’s eyes and facial features, highlight their posture, and make the model stand out against the background.
I have to say that backlight is one of the favorite lighting methods for many people, as they love the golden glow it provides.
Back lighting is excellent for taking creative silhouette images, and I like to experiment with those whenever I get a chance for it. The sunset light must be directly behind the subject, with a beautiful open sky above.
Camera: Canon EOS 5DS R | Lens: Canon EF 85mm f1.2L II USM
Back Sky Light | f/1.8, 1/2000s, ISO 100 | Photo by © Sergey Bidun
• SIDE LIGHTING
SUN SIDE-LIGHT is when the light hits the model from the right or left side, adding dimension and emphasizing texture. The shadows created by side-light are harder and add a certain depth that enriches the portrait.
I like using Sun Side-Light to create Rembrandt light style portraits or Split light technique.
Keep in mind that side-light is best to apply during the golden hour when lighting is slightly softer and not as hard as in midday light.
Use this type of lighting when you are looking to get more dramatic images with areas of defined shadow and bring out the texture in the subject.
Camera: Canon EOS 5DS R | Lens: Canon EF 85mm f1.2L II USM
Direct Sun Side-Light | f/1.6, 1/1600s, ISO 160 | Photo by © Sergey Bidun
OPEN SKY SIDE-LIGHT is much softer than Sun Side-Light and creates lighting similar to side window light or big softbox as in a studio setting.
Open sky offers super soft lighting for your portraits and can be found in areas where you have buildings on one side of the model, and on the opposite side is the open sky.
The same can be applied in nature, where you would have trees/greenery on one side of the subject, and on the opposite side is the open sky.
Don’t forget to pay attention to the background and what is behind your subject, to create most artistic and pleasing portraits.
Camera: Canon EOS 5DS R | Lens: Canon EF70-200mm f/2.8L IS II USM
Open Sky Side-Light | f/2.8, 1/200s, ISO 200 | Photo by © Sergey Bidun
IMPROVE OUTDOOR PORTRAITS
If you are in a circumstance where you must photograph during midday when the light is direct and hard, here are a few of my go-to tips.
• IN THE CITY
Look for a shaded area, if you are photographing in the city. It’s usually not hard to find some buildings for a corner where you get some shade to position your subject in.
Don’t forget to pay attention to the background – you wouldn’t want to photograph a pretty model against a blown-out or a messy surrounding.
Position your subject in a way that they are entirely in the shade so that you don’t get bright sun spots on their clothes or the hair. You will get a slightly different shade of tones, depending on what color of buildings surround you, as building walls produce some reflection.
In the shaded area, the natural light during midday has mainly blue-tint, but it can vary depending on the location where you are photographing.
Due to the blue-tint that the light can create, I shoot in raw to be able to adjust the colors in my post-processing, like in the image below.

Camera: Canon EOS 5DS R | Lens: Canon EF 50mm f/1.2 L USM
Sky Light | f/1.2, 1/1600s, ISO 100 | Photo by © Sergey Bidun
• IN NATURE
If your midday photo session is out in nature, it will be more tricky to find a pleasing light for the portraits. Here is what you can do in this situation: start observing the surrounding area for areas such as trees that offer some type of shade. Also, look for open sky areas, as we will be using that as our natural light source.
Position your model in the shade, with their back toward sunlight, and their front facing the open sky. This setting will create a better quality light for your portrait. Make sure the background behind the model is darker than the subject can stand out and not blend in. Watch out that direct sunlight doesn’t fall on your subject and doesn’t give you spotted or dappled light.
Always remember that if you are shooting out in a park where there is a lot of greenery, you will get a greenish tint to the face of your subject. This tint will be hard to remove in post-processing.
Camera: Canon EOS 5DS R | Lens: Canon EF 85mm f1.2L II USM
Direct Sun Light | f/1.2, 1/160s, ISO 2500 | Photo by © Sergey Bidun
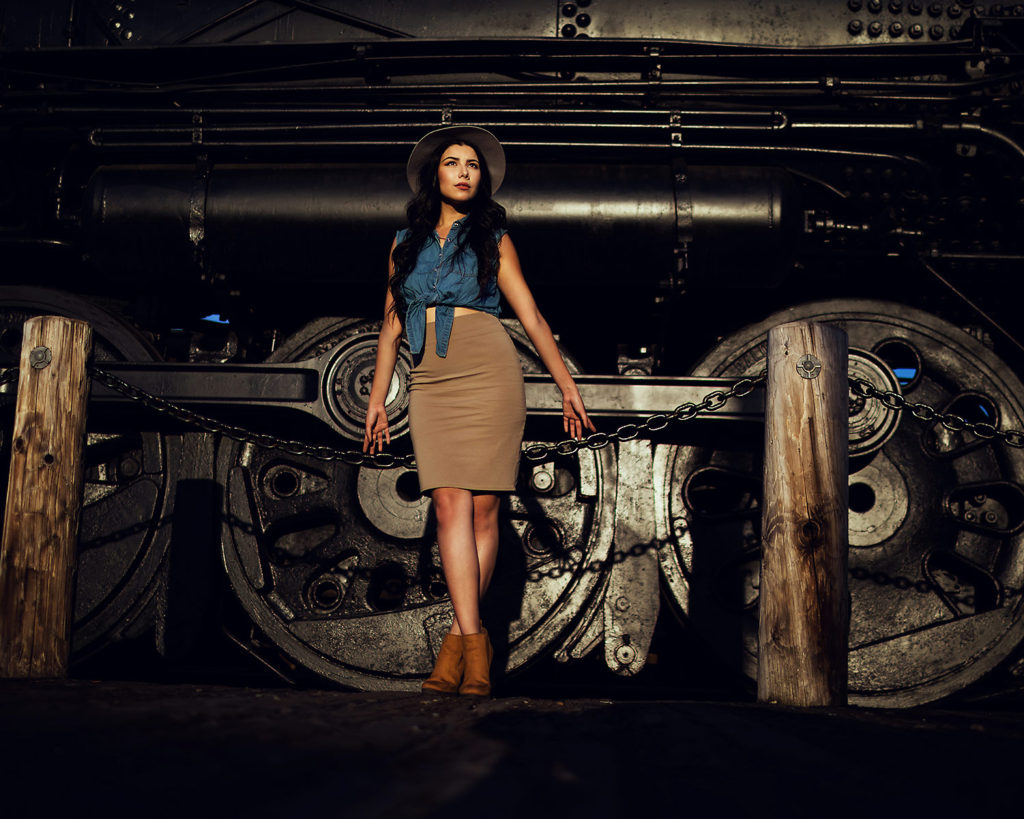
• IN OPEN FIELD
If you are in an outdoor area such as an open field or desert, where there are absolutely no trees or buildings, it’s best not to photograph during midday. But if you absolutely must, or want to experiment in this setting – do so from some distance, such as full-body shots or fashion shots.
Have your subject positioned facing to the light, as you take your shot at about 45-90 degree angle. You can experiment by using different lenses for more creative images. I strongly suggest bringing in a diffuser or a reflector if you have those.
Images taken with hard sunlight will be very intense and contrasty, so don’t expect soft shadows on the subject’s face.
DIFFUSER: Adding a diffuser can soften the sunlight and make shadows softer – the larger the diameter, the better. Don’t forget that you will need a second person, an assistant, who will hold the diffuser.
REFLECTOR: If you want to play with the hard light – use a reflector. The reflector is what bounces sunlight toward the subject and adds more light to the front, eliminating some of the harsh shadows.
One of the ways I like using a reflector is when the subject is facing the light source. You can add the reflector from below to soften the chin shadows and create a butterfly light setup.
These are some of the ways of producing better images if you must photograph during harsh midday light.
Camera: Canon 5D Mark III | Lens: Canon EF70-200mm f/2.8L IS II USM
Sky Natural Light | f/1.2, 1/640s, ISO 50 | Photo by © Sergey Bidun
TELLING A VISUAL STORY
Now that we’ve discussed all of these technical aspects of natural light photography, how do you use this information to tell a captivating visual story?
Natural lighting is the kind of light you can’t control, unlike strobe light that you would use in a studio. You have to adapt and utilize the light that nature gives you – not fight it. Be creative when you shoot, work with different angles, and use available light in compelling ways.
You will be surprised how many different variations of portraits you will get just by changing the direction of light or its intensity.
• EMOTIONS
Ultimately, what makes a great photograph isn’t just nailing its technical aspects, but also being able to capture the genuine emotions of your subject.
Your images will look more compelling if you can capture the model’s expressions with your camera.
Many different emotions can be represented in a portrait. As photographers, we strive to highlight happiness, joy, love, and maybe even sorrow or despair through our images.
We present the pictures to the viewer, and their interpretation of the emotions can differ. The main intention of capturing emotion is to make it seem genuine.
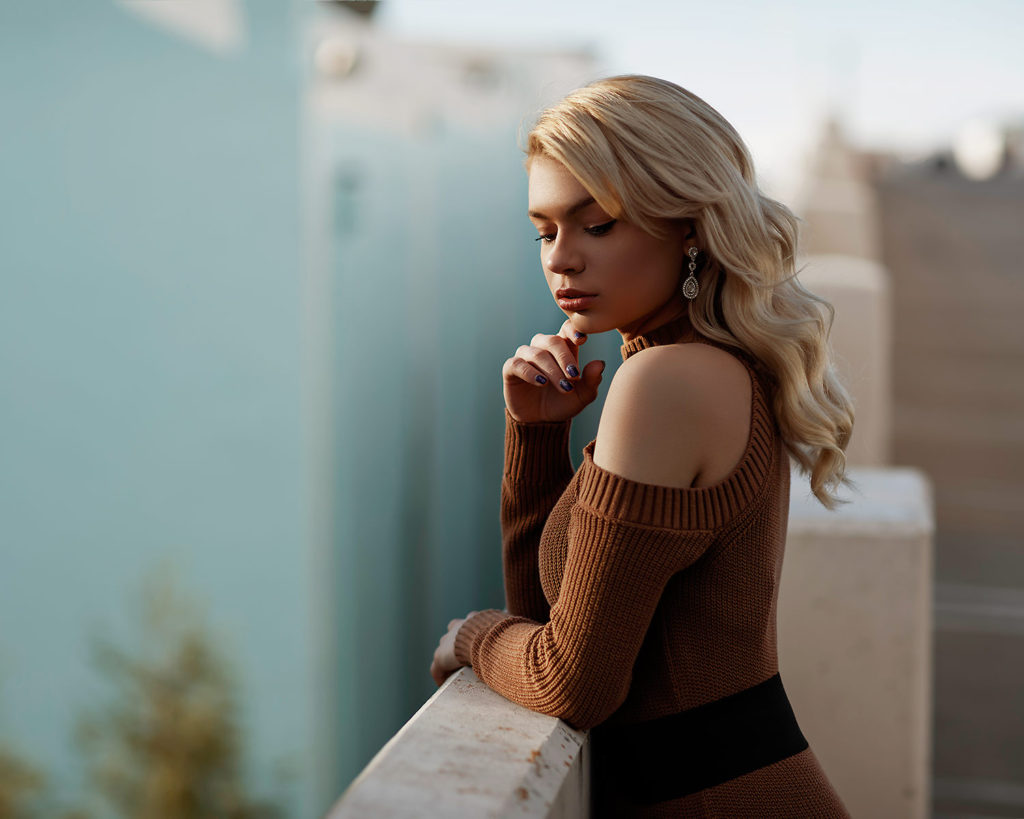
Camera: Canon 5D Mark III | Lens: Canon EF 85mm f1.2L II USM
Sky Natural Light | f/1.4, 1/800s, ISO 250 | Photo by © Sergey Bidun
• EYES
Most portrait photographers will tell you that eyes are the essential aspect of any portrait, and I agree. The eyes can reveal some powerful emotions.
All parts of the body play their role when posed correctly, but the viewers’ attention always seems to come back to the eyes, trying to see the emotion that they convey.
Camera: Canon EOS 5DS R | Lens: Canon EF 85mm f1.2L II USM
Sky Light | f/1.2, 1/800s, ISO 100 | Photo by © Sergey Bidun
CONCLUSION
Being a portrait photographer in Sacramento, California, gives me some perks when it comes to outdoor natural light portraits. We get a lot of sunshine throughout the year, and not that many overcast days. At times, its too much much sunlight.
That’s why it’s important to know ways of working with this constant light source in a way that will benefit your final image.
The tips discussed in this article are our opinions and strategies that work for our portrait photography.
You don’t have to agree to all of the information above, but this is what has worked for us at Bidun Studio Photography for many years.
I hope you found this article and my tips useful and can implement some of these strategies into your photography for creating amazing images. Now get outdoors into the natural light and start experimenting with different light settings!
IF YOU FOUND THIS POST HELPFUL AND INFORMATIVE PLEASE SHARE IN YOUR SOCIAL MEDIA.
Photographer: Sergey Bidun
Written by Maria Bidun
![Black and White Portrait Photography [Ultimate Guide]](https://bidunart.com/wp-content/uploads/2020/04/Portrait183a-440x264.jpg)

This is a wonderful, easy to read, and informative description of using natural light for photography! Your images are breathtaking in their tones, subject separation, sharpness and smoothness.
Thank you very much, Navid for your feedback. We tried to explain our strategies to the best of our abilities.