The sun is the primary source of light when photographing outdoors. You can create beautiful portraits in sunlight. It’s also an excellent opportunity to practice shooting in backlit photography.
Although the backlight gives a beautiful light pattern, it’s not easy to get good results in such conditions. A lot of knowledge and constant practice is required for getting compelling backlit portraits.
Let’s discuss what backlight photography is and how photographers use it for creating authentic portraits. I hope this article will be helpful for many photographers who are just starting out and will answer some of your questions.
This post may include affiliate links. Please read our disclosure policy. [024]
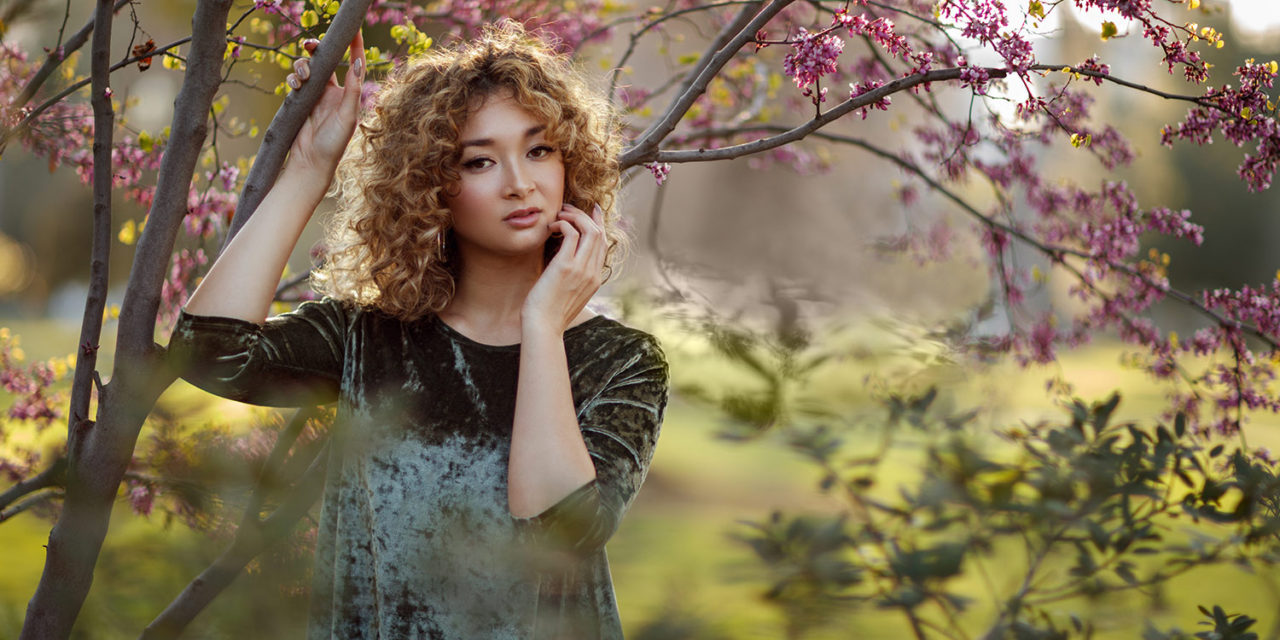
Camera: Canon EOS 5DS R |Lens: Canon EF 85mm f1.2L II USM
Sky Natural Light | f/1.6, 1/640s, ISO 250 | Photo by © Sergey Bidun
TYPES OF LIGHTING
Let’s talk a little bit about the types of lighting in general and then reveal the term “backlight.” We will not go into details of general shooting conditions such as the outdoors and indoors and the corresponding light in this post. Also, you can find a lot of useful information in our previous post – Natural Light Photography.
As photographers, we should remember that light rays can be found under any circumstances, and they will be different. Light can be located at a special angle to the subject (or photographer), which will result in one of these types of lighting:
- Front Light – stands in front of the object and shines directly on it. The Butterfly Lighting technique can be achieved if the light is coming from the front and slightly above angle.
- Side Light – the light shines exactly to the side of the object. It is considered one of the most attractive. Best sidelight is at an angle of 45 degrees. It’s possible to set up the Split Lighting technique with this type of light.
- Backlight – is located behind the subject, and it outlines its contour. More about it below.
These are just some of the main types of lighting situations. It’s important to start with the basics, to be able to understand the difference the lighting makes on the portrait.

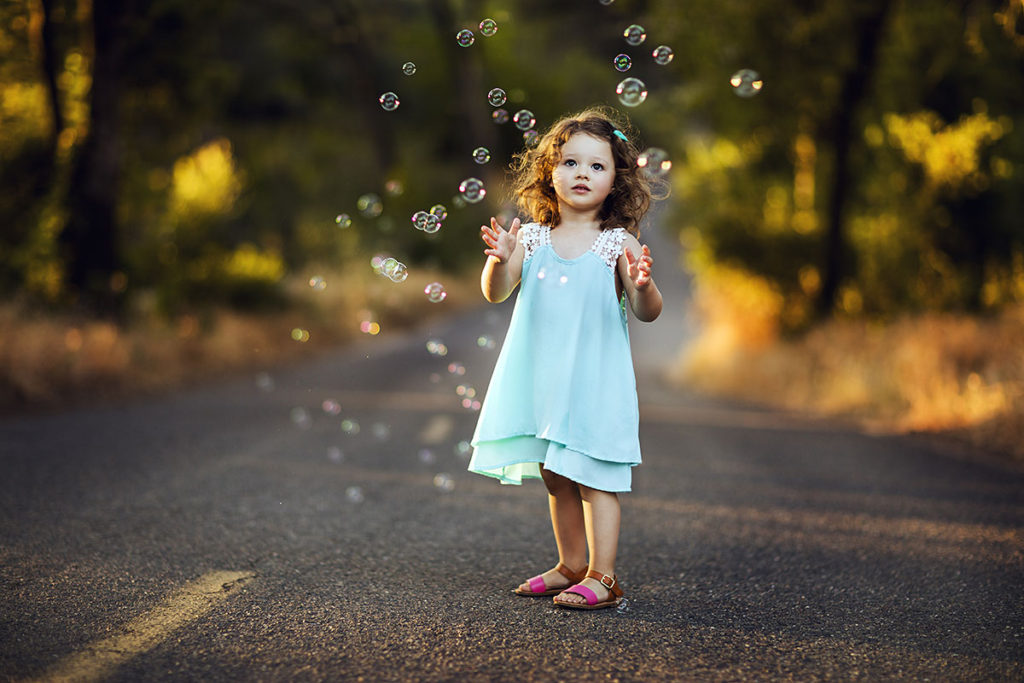
Camera: Canon EOS 5DS R |Lens: Canon EF 85mm f1.2L II USM
Sky Natural Light | f/1.4, 1/250s, ISO 320 | Photo by © Sergey Bidun
WHAT IS BACKLIGHT IN PHOTOGRAPHY
Let’s start from the basics and discuss what backlight is. Backlight – also called contour light – is when the light source is behind the subject that you are photographing. The source does not have to be exactly behind the subject’s back; it can be slightly above or from the side, but it is always behind. When shooting outdoors, this source is most often the sun.
It is best to use such light in the morning or in the evening, at sunset, when the sun is low above the horizon. In these hours or rather minutes, the sunlight becomes much softer, as if golden. It lies flat on the subject, creating a gorgeous halo above it and a rim light all around. This effect is obtained when the camera lens is directed against the sun, and the portrait is between the light source and the camera.
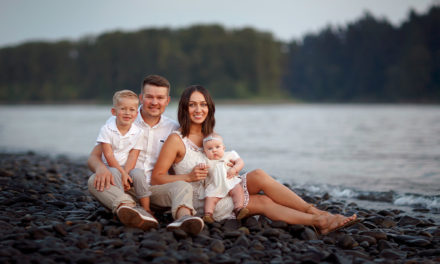
Another example, if you want to photograph a portrait of a couple against the backdrop of the setting sun, then the backlight will give your picture an incredible romantic mood. The dark silhouettes of the figures will seem magical and mysterious.
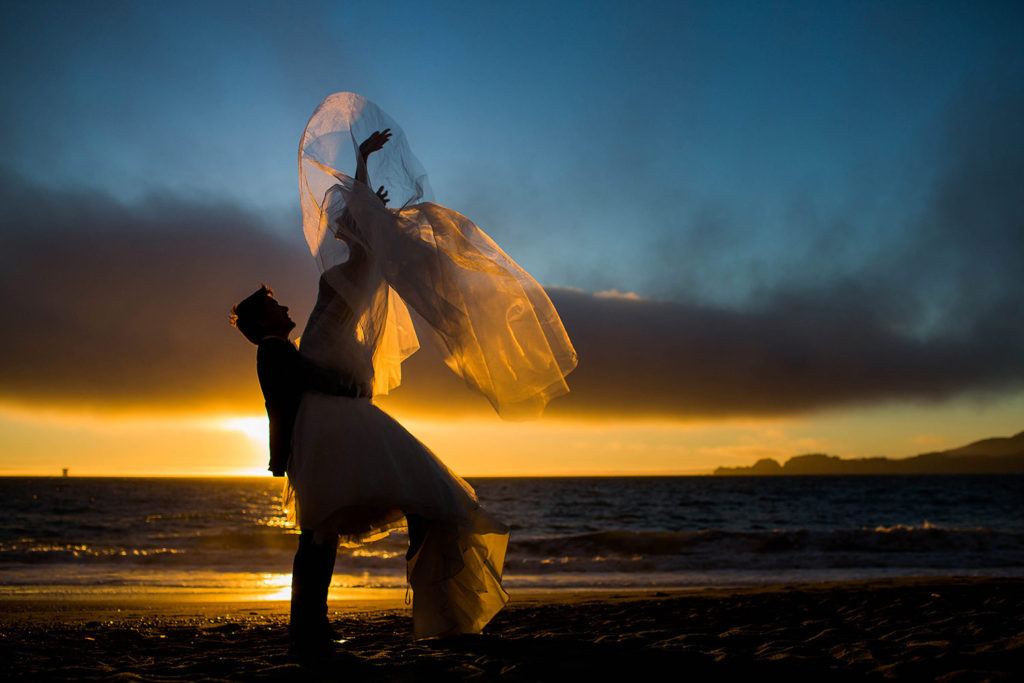
Camera: Canon EOS 5DS R |Lens: Canon EF 17-40mm f/4L USM
Photo by © Sergey Bidun
BACKLIGHT CONCEPT AND HOW TO WORK WITH IT
It requires some time to understand what backlight is and how to work with it correctly. This type of light is very controversial and involves many dangers.
Most of the time, it is very powerful, which causes the likelihood of glare, overexposure, and the main subject comes out too dark. Although if it is important for you to emphasize only the shape or silhouette, the object or person may remain in the shade.
Novice photographers are advised to avoid a situation where the sun or another primary light source is directly in front of the photographer and is aimed at the camera. After all, this factor can ruin the lens, not to mention the image itself.
An experienced photographer will be able to use any lighting conditions in their favor and use additional artificial light or a reflector to control the light source. I would suggest getting a reflector and starting to experiment with it to see how it affects the lighting.
Camera: Canon EOS 5DS R |Lens: Canon EF 85mm f1.2L II USM
Sky Natural Light | f/1.2, 1/250s, ISO 50 | Photo by © Sergey Bidun
BACKLIT HIGHLIGHTS
Backlighting is considered the best option to highlight the profile of a person. The lines of the figure in portrait shooting, create a kind of golden glow, also called the rim light. The backlight can also do the opposite – create a dramatic and contrasty image.
In this type of photography, the backlight is not the only light source. In portrait photography, the backlight is present but is not dominant. It is only aimed at some part, for example, on the hair of a person, giving the strands a golden sheen and attracting attention to them.
Such difficult settings with multiple light sources are more convenient to practice with inside the studio. You can experiment and place the backlight exactly behind the person, slightly from the side or the top. Remember that when you position it closer to the subject, the light beam decreases in size, becoming simultaneously more intense.
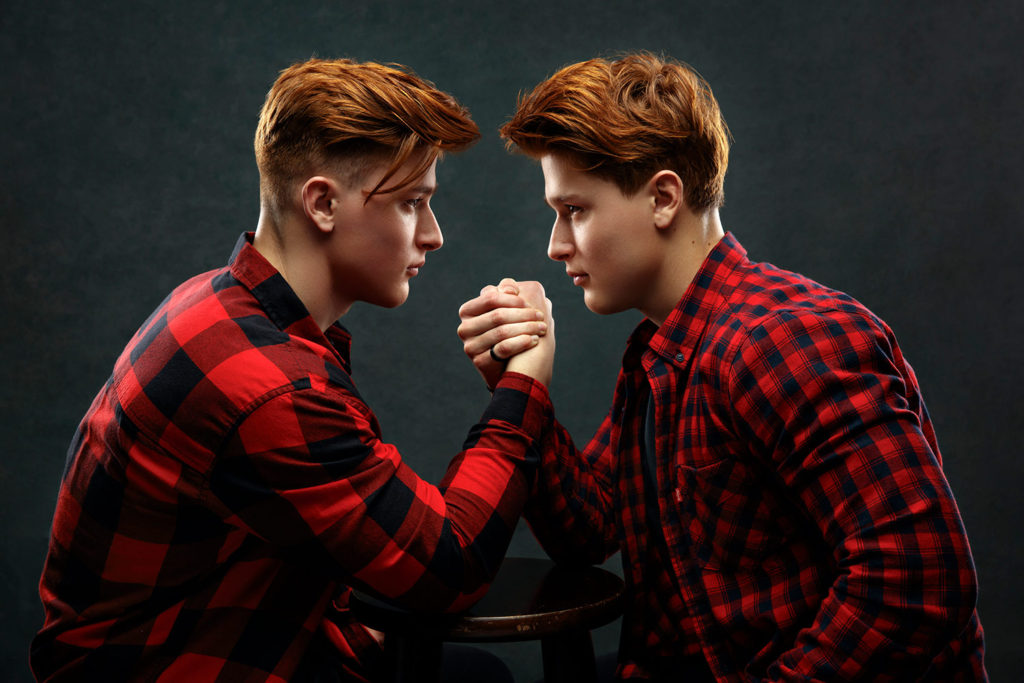
Camera: Canon EOS 5DS R | Lens: Canon EF 24-70mm f/2.8L II USM
f/7.1, 1/200s, ISO 200 | Photo by © Sergey Bidun
Light: Profoto B1 500 AirTTL System
BACKLIT PORTRAIT PHOTOSHOOTING
Outdoor portrait photographers like to use the contour light. They even often include the sun in their work – boldly and effectively. Let’s look into some of the advantages of photographing with backlight.
- First, the sun looks pleasing, located according to the rule of the golden ratio.
- Second, you can cover a bright source/sun with the subject or another object, and emphasize the rays beaming from it.
- Third, it’s helpful to shoot in raw. This format will allow you to bring out colors from the dark objects and deal with the sun glare.
- Fourth, work carefully with light metering. Depending on what you focus on – light, medium, or tones closer to black, such parameters will determine the result.
Think about which image will be easier to work with: picture where many parts are underexposed, but the light is distinguishable, or vice versa? Or maybe choose one that is within a certain norm in terms of light and shadow?
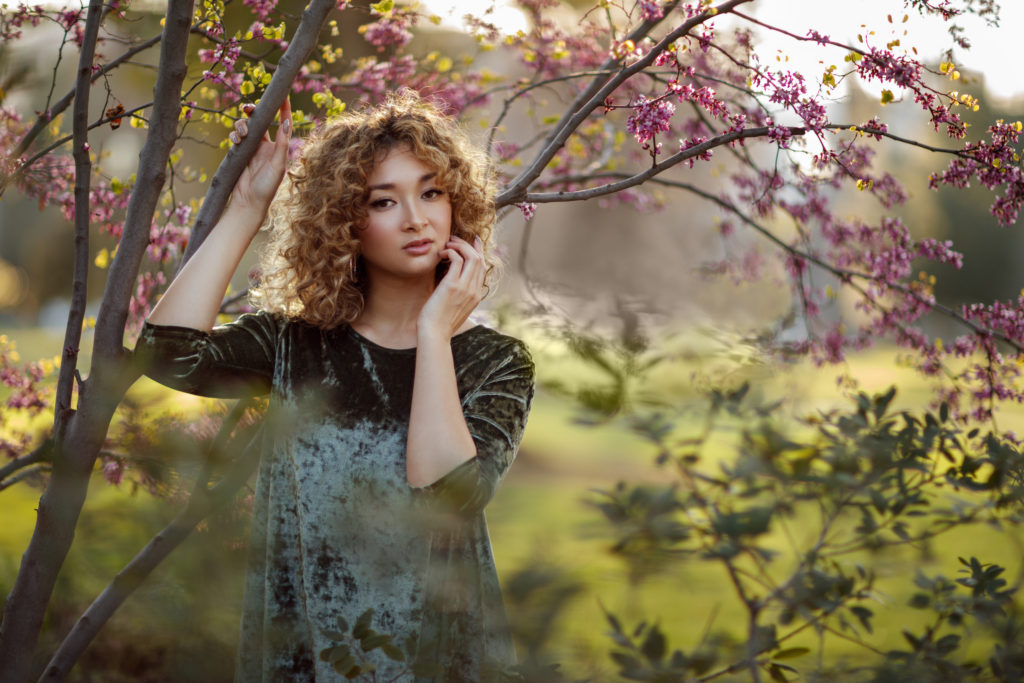
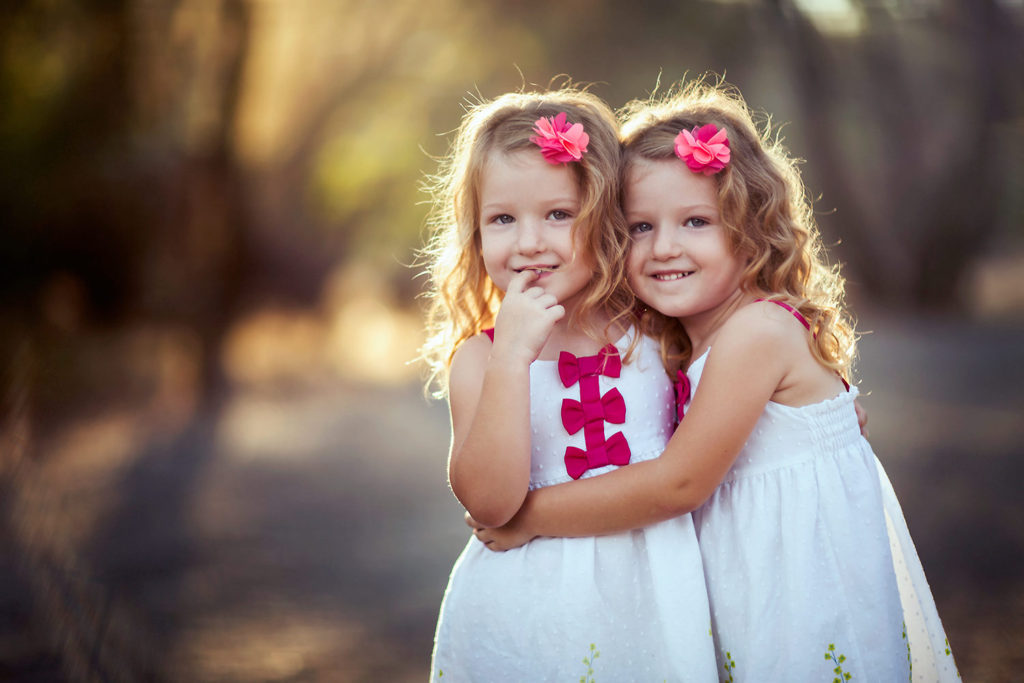
Camera: Canon EOS 5DS R |Lens: Canon EF 85mm f1.2L II USM
Sky Natural Light | f/1.2, 1/200s, ISO 50 | Photo by © Sergey Bidun
WHEN IS IT BEST TO CHOOSE CONTOUR LIGHT?
Based on the concept of the backlight, it is not appropriate to use it in all cases. Here are some of the examples of situations where you may or may not want to use contour light:
- It is necessary to make a three-dimensional image with a great light and shadow balance. Usually, the backlight will not help in any way, since you will get the exact opposite photo: a flat-looking object and a lack of detail.
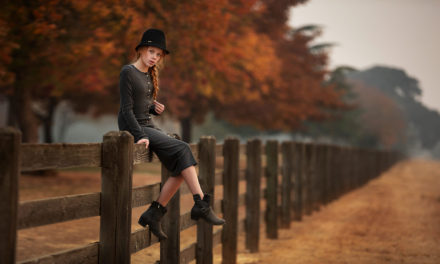
- With the contour light, you will see well-defined lines and forms, and soft contrast in tones. This lighting works wonderfully for soft light portraits, which high school seniors and families absolutely adore.
- A dim light source. We would not recommend taking a picture with a dim light source for the best type of results. Don’t aim of highlighting the silhouette with a dim light – something may be blurred, and a feeling of incompleteness will arise: neither volume nor contour.
- High-quality photo. Getting a high-quality photo with backlight is pretty impossible due to the lack of shadows that we get. You will be able to get much better quality images in the studio. Backlight gives such an intensity that overexposure occurs almost all the time.
You can deal with this in photo editing, but the possibilities are limited. In most portrait and commercial photography, where it is important to present a high-quality image, it is best to stick to the classics of photography.
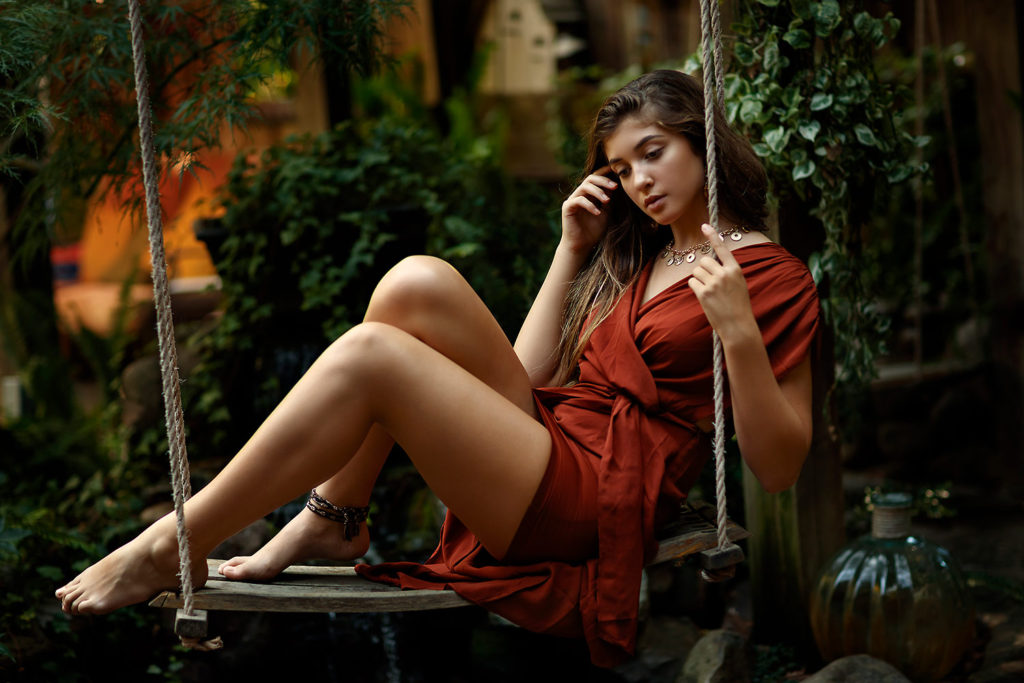
Camera: Canon EOS 5DS R |Lens: Canon EF 85mm f1.2L II USM
Sky Natural Light | f/2.0, 1/400s, ISO 400 | Photo by © Sergey Bidun
CONCLUSION
We hope you have a better idea of backlight photography and how it can be used for getting better portraits both outdoors and in the studio.
Under difficult lighting conditions (such as backlight), it is most convenient to use the manual shooting mode. This allows you to control the exposure and depth of field at the same time, which is very important when shooting portraits.
Periodic switching to live view will approximately evaluate the final exposure of the frame. Try to set ISO to the minimum. It is also advisable to shoot in RAW – in the future, it will be easier to adjust the exposure in the editing process.
IF YOU FOUND THIS POST HELPFUL AND INFORMATIVE PLEASE SHARE IN YOUR SOCIAL MEDIA.
Photographer: Sergey Bidun
Written by Maria Bidun
