Aperture Priority is the primary mode used by all reporting photographers. In this semi-automatic mode, you set the aperture and ISO you want, and then the camera selects the correct shutter speed.
The Aperture Priority mode on your camera is one of the main ones that photographers use for specific tasks. Your DSLR camera has many different settings and modes, and you need to know what these modes mean and how to use them in different situations.
Of course, you can study all these settings in your camera manual, but how do you know if you are applying them correctly? Some beginner photographers may choose to go the easy route and shoot in Program Mode, letting the camera choose the settings – but this is not the best way to get a high-quality image.
As you are learning how the camera settings work, there are several benefits of using aperture priority mode. Let’s discuss ways how being familiar with aperture priority mode will help you in your photography.
This post may include affiliate links. Please read our disclosure policy. [021]
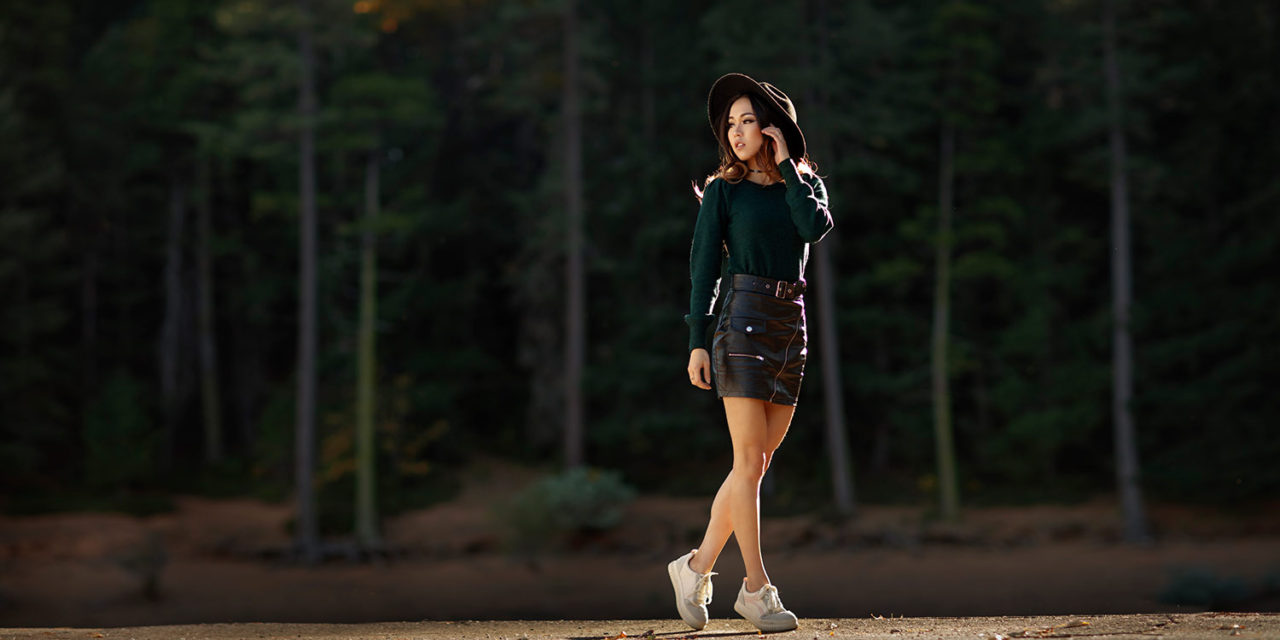
Camera: Canon EOS 5DS R | Lens: Canon EF 85mm f1.2L II USM
Sun Back Light | f/1.6, 1/2500s, ISO 200 | Photo by © Sergey Bidun
WHAT IS APERTURE PRIORITY MODE AND WHAT IS IT FOR?
Aperture priority mode is indicated by the letters A or Av in the menu of your camera. In this mode, you can change the size of the lens opening or the width of the aperture. For example, close it as much as possible so that less light enters the camera, or vice versa, open it so that more light enters the camera. Understanding this basic aperture function will help you decide how to use this mode in any genre of photography.
Select aperture priority mode when you want to control the depth of field (DOF). For example, if you’re going to create a portrait with beautiful bokeh, then set the aperture to f/2.8 or f/1.8. Choose the aperture priority mode not only when creating a nice blurry background, but also in cases where, on the contrary, you need to take a clear picture by choosing the aperture value f/11 or less.
Aperture priority mode is well suited for sequential shooting when speed is required. This means that when you shoot constantly moving objects or people (for example, wedding or street photography), shooting in aperture priority mode will allow you to get good shots without frequent access to the camera menu to select the optimal settings.
You can miss interesting shots if you don’t know how to use the settings, so it’s better to use the mode, which allows you to change them with a single swipe of your finger. It’s best to shoot in aperture mode while traveling, which enables the photographer to speed up the shooting process under various lighting conditions.
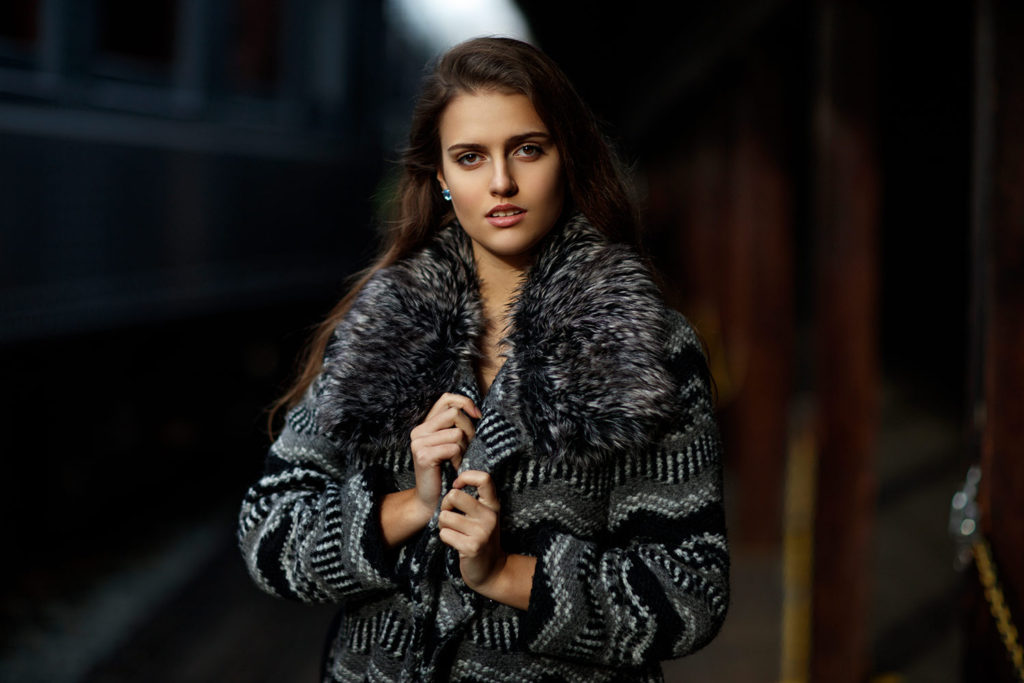
Camera: Canon EOS 5DS R | Lens: Canon EF 85mm f1.2L II USM
Sun Back Light| f/1.6, 1/800s, ISO 800 | Photo by © Sergey Bidun
USING APERTURE PRIORITY MODE TO CHANGE THE DEPTH OF FIELD
Aperture settings let you control the depth of field of the photo. By using this mode setting, you decide what will be clear in the picture and what is blurry, that is, beyond the depth of field.
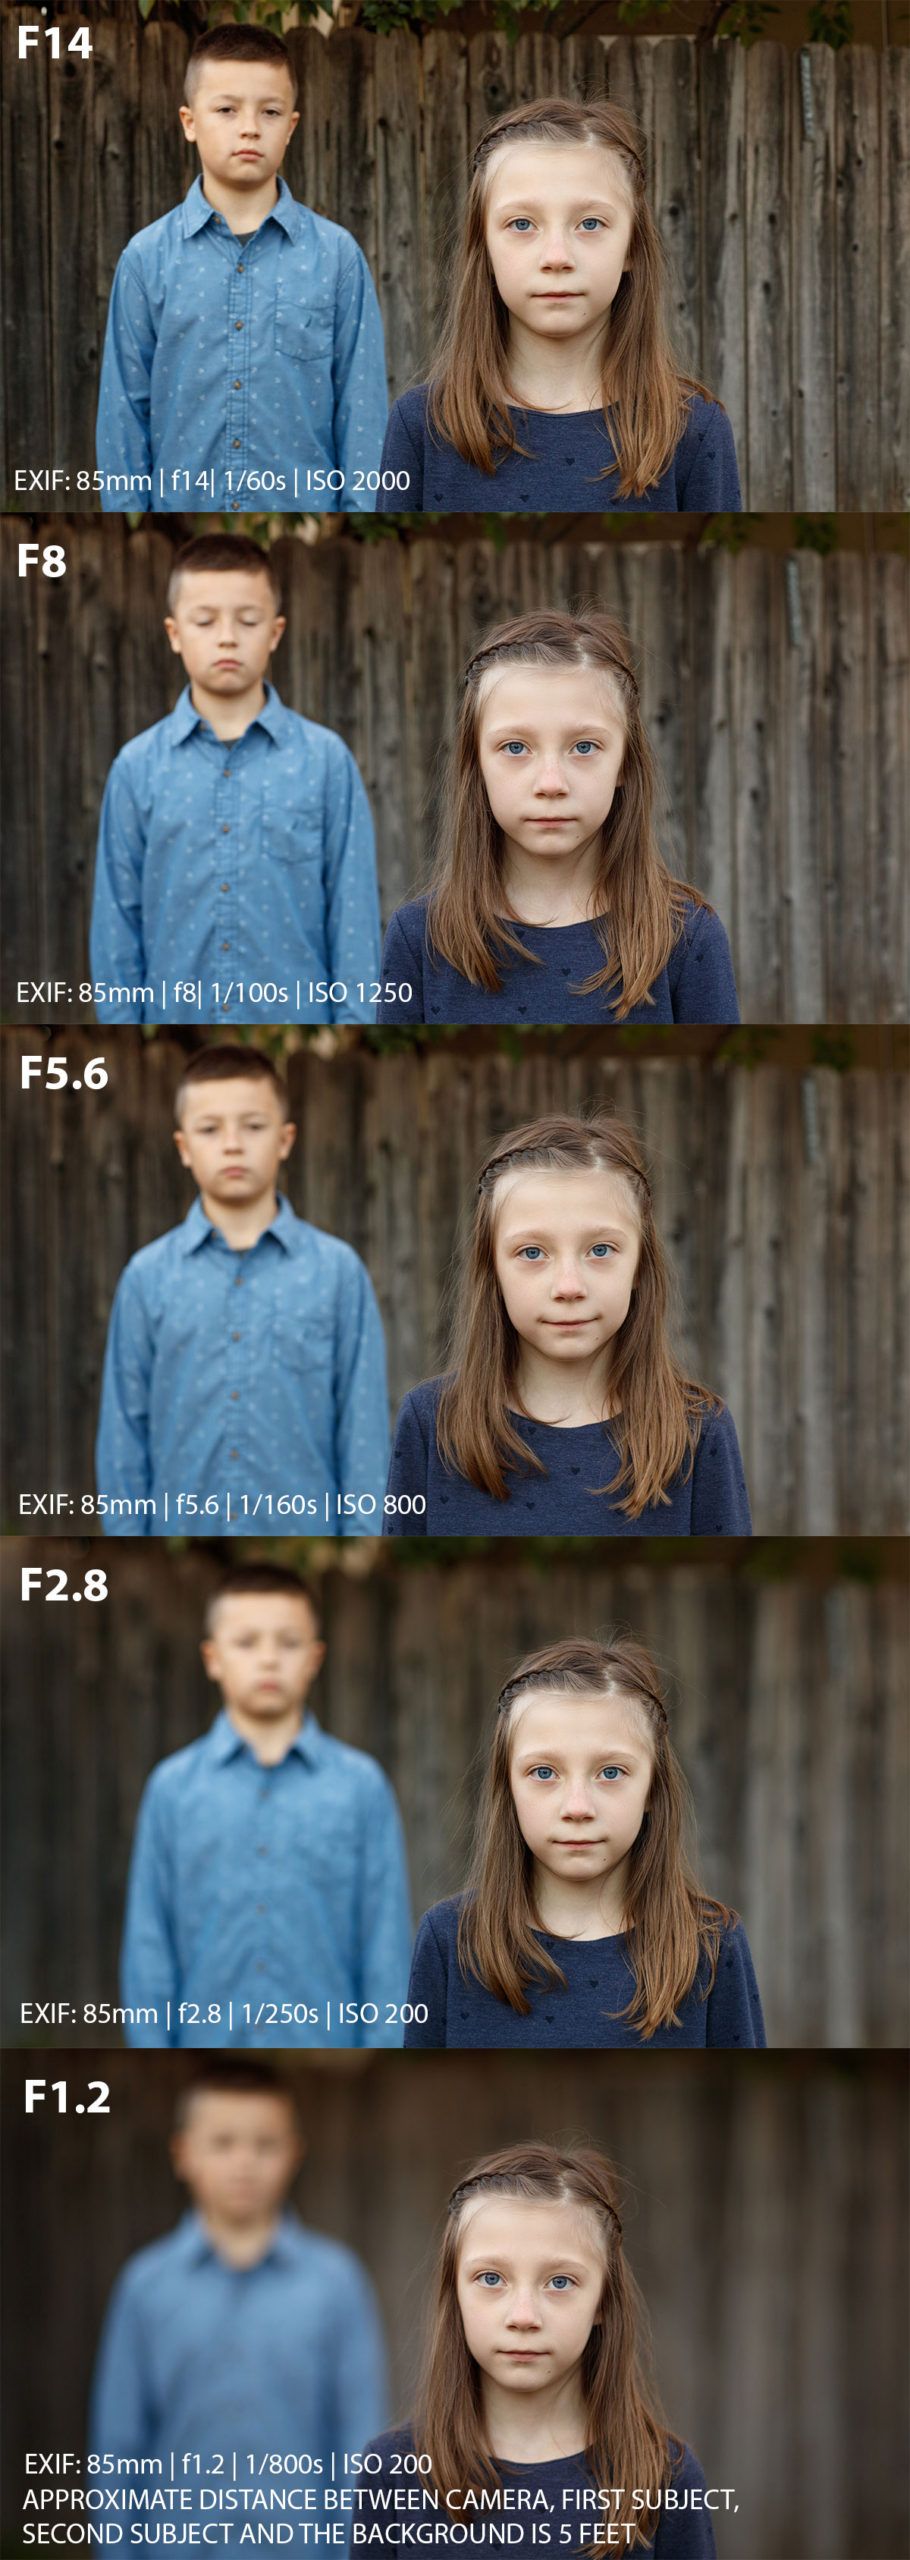
The bigger the hole in the lens, the smaller is the depth of field, and the more blurred the background will be. To get the most pleasing blur in the background, you need a special lens that has a big opening in aperture value ( such as 1.2 or 1.4 aperture value ). My favorite go-to lenses for portrait photography are Canon 85mm f/1.2L and Canon 50mm f/1.2 – they give a very pleasant blur in the background.
As you can see in the example below, by changing the aperture settings, you will see a significant difference in the depth of field. Notice that the camera adjusts shutter speed by itself, by increasing it.
I recommend you to read our post on How to Blur Background in the Photo for more tips.
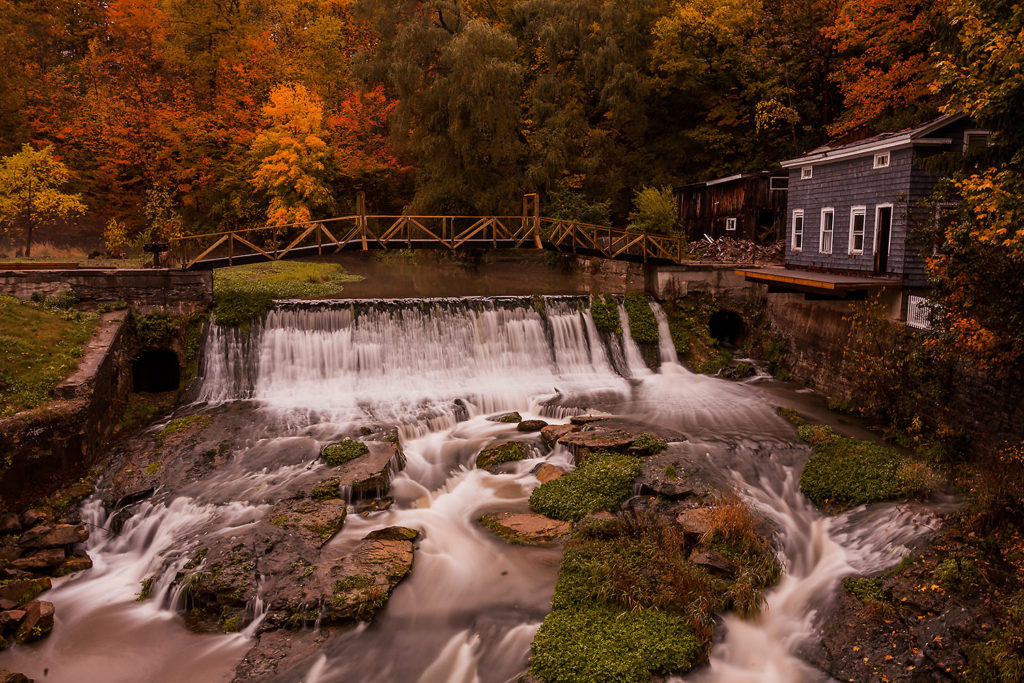
If you are photographing nature or architecture, and you want to get a clear image across the entire depth and width of the frame – it’s a great idea to use aperture priority mode.
For landscape photography, I suggest setting your aperture mode somewhere between f/10 – f/32 to get the most crisp image in regards to foreground and background.
USING APERTURE PRIORITY MODE IN LOW LIGHT
Aperture priority mode allows you to change the amount of light passing through the lens of the camera. This is helpful in situations where the light changes from shot to shot. When shooting indoors, for example, you need to open the aperture more to get a clear image. A lens with a high aperture, such as an aperture of f/2.8 or f/3.5, can help your camera take better pictures in low light conditions.
When I photograph indoor wedding ceremonies, for example, I often have to use a telephoto lens, such as 70-200 mm. It’s a handy lens for capturing everything that happens on the stage or altar, without being in anyone’s way. I would have my assistant usually shoot from the back with a telephoto lens while I’m capturing moments with another lens.
Shooting in aperture priority mode allows the photographer to open the eyes to the camera in the low light conditions.
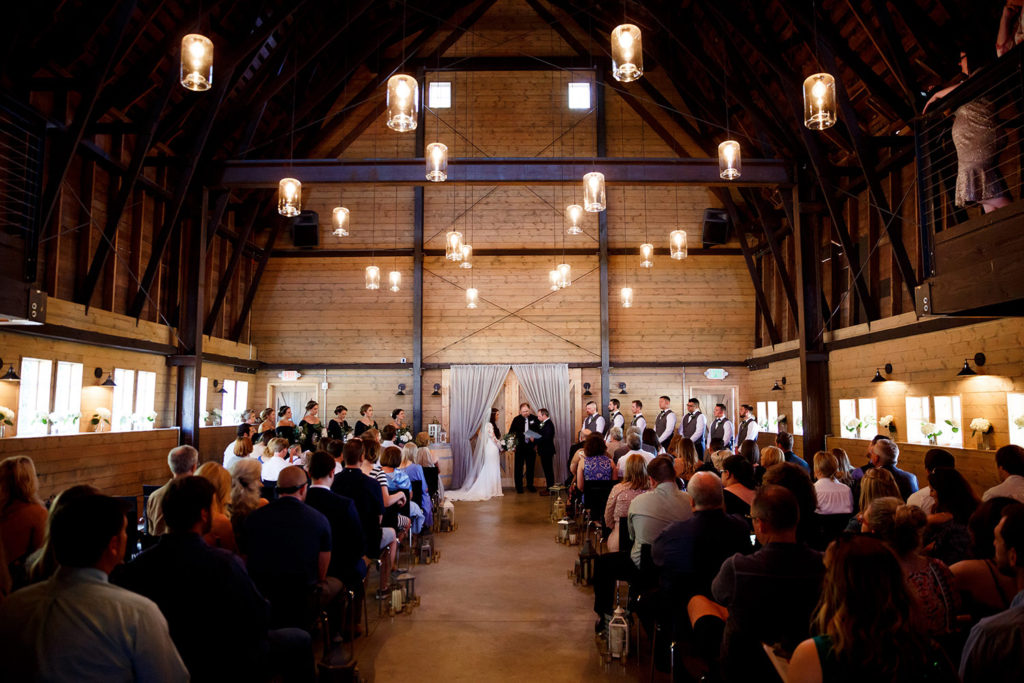
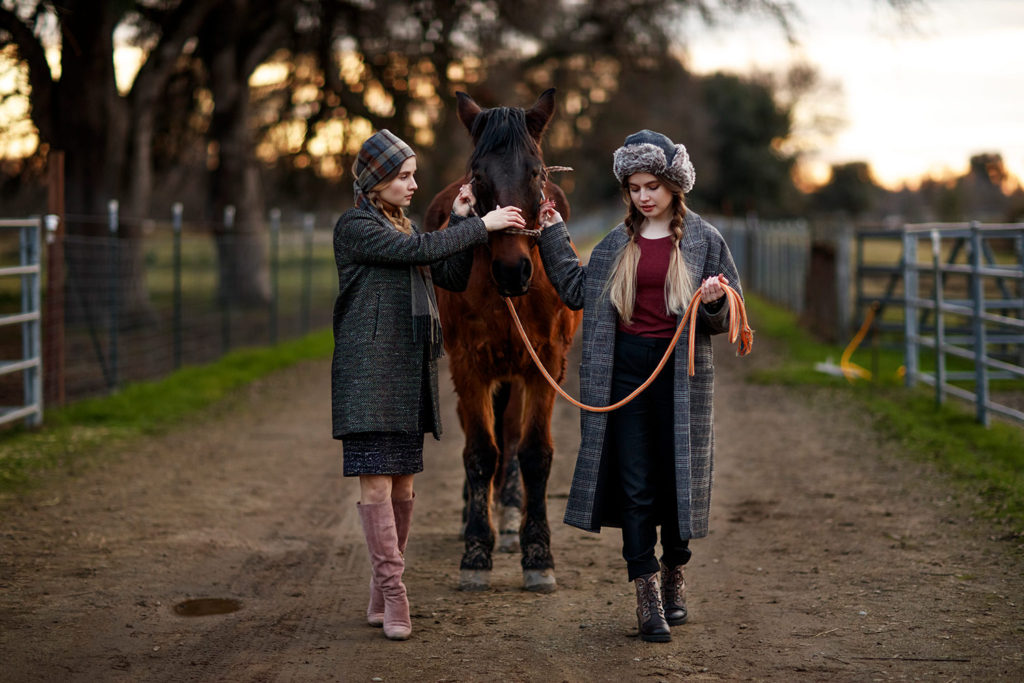
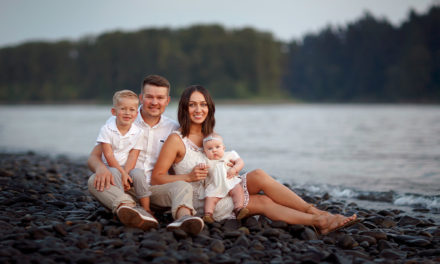
Camera: Canon EOS 5DS R | Lens: Canon EF 24-70mm f/2.8L II USM
Side Sun Light| f/2.8, 1/160s, ISO 2500 | Photo by © Sergey Bidun
USING APERTURE PRIORITY MODE TO SHOOT MOVING SUBJECTS
Aperture priority mode will help you both freeze and blur motion. When you open the aperture so that more light enters the camera, the camera will set to faster shutter speed to maintain the same exposure. This makes it possible to shoot fast-moving subjects, such as during wedding or event photography.
I shoot my portraits primarily in manual mode, but in some instances, the aperture priority mode comes in very handy. Sometimes I set my camera to aperture priority mode during a child photo session. For example, if you are photographing at a location with constant lighting changes – it’s best to set your camera to aperture mode.
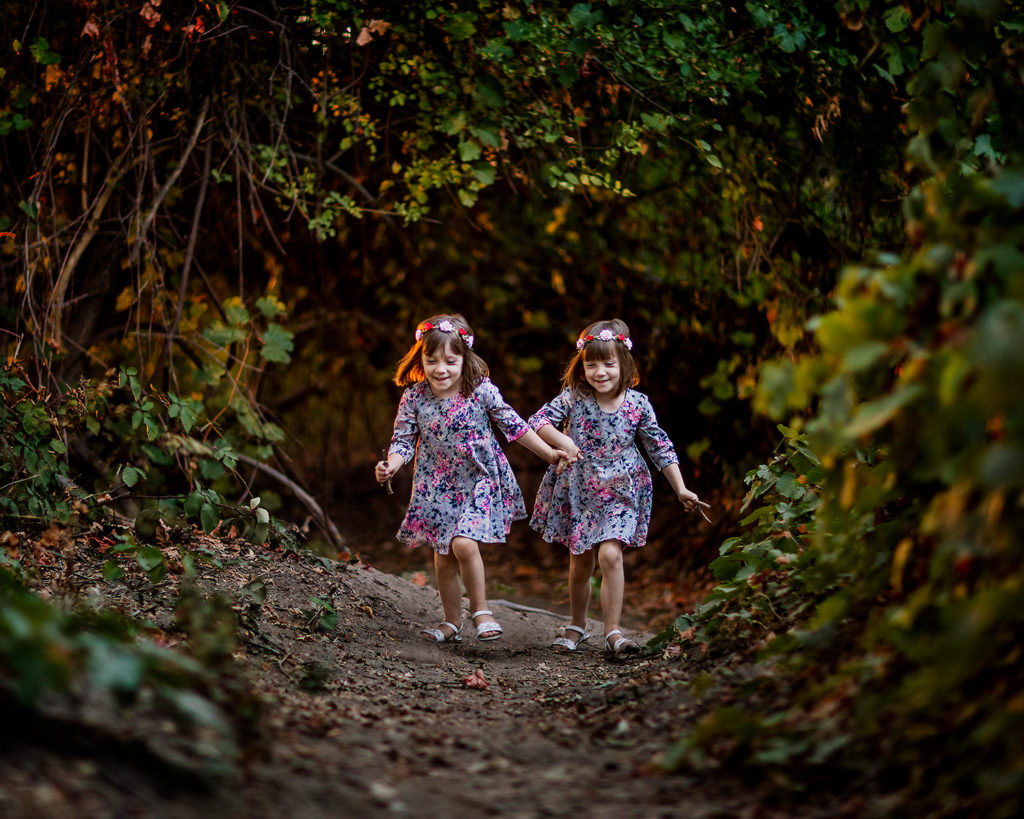
Camera: Canon EOS 5DS R | Lens: Canon EF 85mm f1.2L II USM
Sun Back Light| f/1.2, 1/1200s, ISO 500 | Photo by © Sergey Bidun
ADJUST THE ISO AND SHUTTER SPEED SETTINGS
ISO
Remember that when you select any mode, you still adjust the ISO sensitivity yourself.
You need to choose sensitivity based on what kind of lighting you are working with. For example, when shooting in bright sunlight, it is better to set the value to 100 or 200 ISO. If it is a cloudy day, or if you shoot in the shade, then it is better to set the value to 400 ISO. For shooting in a room with poor lighting, the value must be set to more than 800 ISO, depending on the circumstances.
Values above 3200 ISO are set in individual cases, for example, if you are shooting a subject in motion without using a tripod and at the same time, the lighting level is low. Using a tripod allows you to set lower ISO values since the risk of making a blurry frame is significantly reduced.
SHUTTER SPEED
Check shutter speed in aperture priority mode.
If the camera determines the shutter speed value on its own, this does not mean that you will be able to take a high-quality picture. It’s better to check once again what shutter speed your camera has set. Yes, basically there are no problems, but if you set the camera sensitivity to 100 ISO, with f/16 aperture in a dark room, you will shoot with somewhat a slow shutter speed, and if you are not using a tripod, the frame will most likely come out blurry.
Therefore, make sure that the shutter speed is set correctly. For this, you can use the following rule – 1 / focal length = shutter speed. That is, if you shoot at a distance of 200 meters, then the shutter speed should be 1/200. Knowing this rule, you can adjust your ISO and aperture settings so that the shutter speed is automatically set to the value that works best.
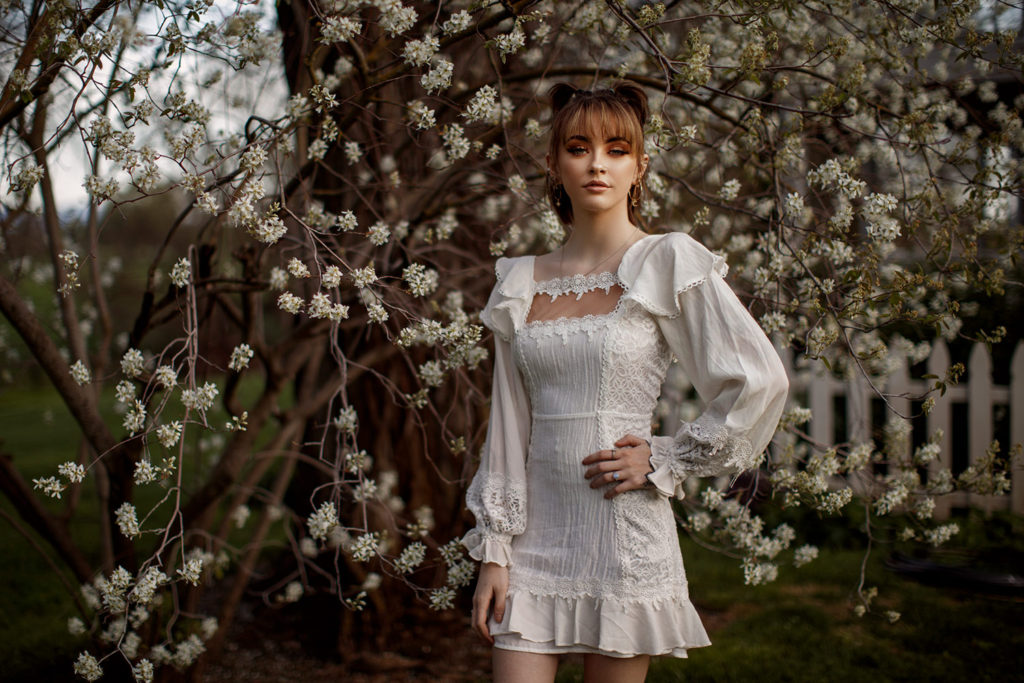
Camera: Canon EOS 5DS R | Lens: Canon EF 50mm f/1.2 L USM
Side Sun Light| f/1.4, 1/400s, ISO 50 | Photo by © Sergey Bidun
CONCLUSION
In my opinion, aperture priority mode is the most convenient and versatile mode in which you can photograph anything. You set the white balance, ISO value, and aperture, and the shutter speed is selected automatically, depending on the lighting conditions. If the automation is wrong, using the exposure compensation button, you can correct to make the next photo darker or lighter (in fact, dynamically changing the shutter speed).
If you turn exposure compensation up, the photo becomes lighter, and the shutter speed is slower. And vice versa, if you turn it down – the picture is darker – the shutter speed is shorter. I prefer to shoot with light meter compensation .5 stops lower, which keeps me from overblowing portraits.
The essential thing in the Aperture Priority Mode is the control of the depth of field. By changing the aperture, you always control how much the background will be blurred out. For large portraits, use the open aperture; to shoot landscapes or a city, close the aperture to a value of 5.6.
Learn how to shoot in aperture priority mode, understanding how the aperture affects a photo, and then apply the acquired knowledge in practice. Understanding will help you get to know your camera better and shoot better in various situations. In this mode, you can get completely different pictures.
IF YOU FOUND THIS POST HELPFUL AND INFORMATIVE PLEASE SHARE IN YOUR SOCIAL MEDIA.
Photographer: Sergey Bidun
Written by Maria Bidun
